How to Create In the Box Mini Sessions That Clients Love
In the Box minis are one of those setups that look impressive but are surprisingly simple to pull off. They are quick, versatile, and perfect for both photographers who want an efficient mini session and parents who want something playful and unique. If you have ever needed a session that is fast, repeatable, and still feels creative, this is it.
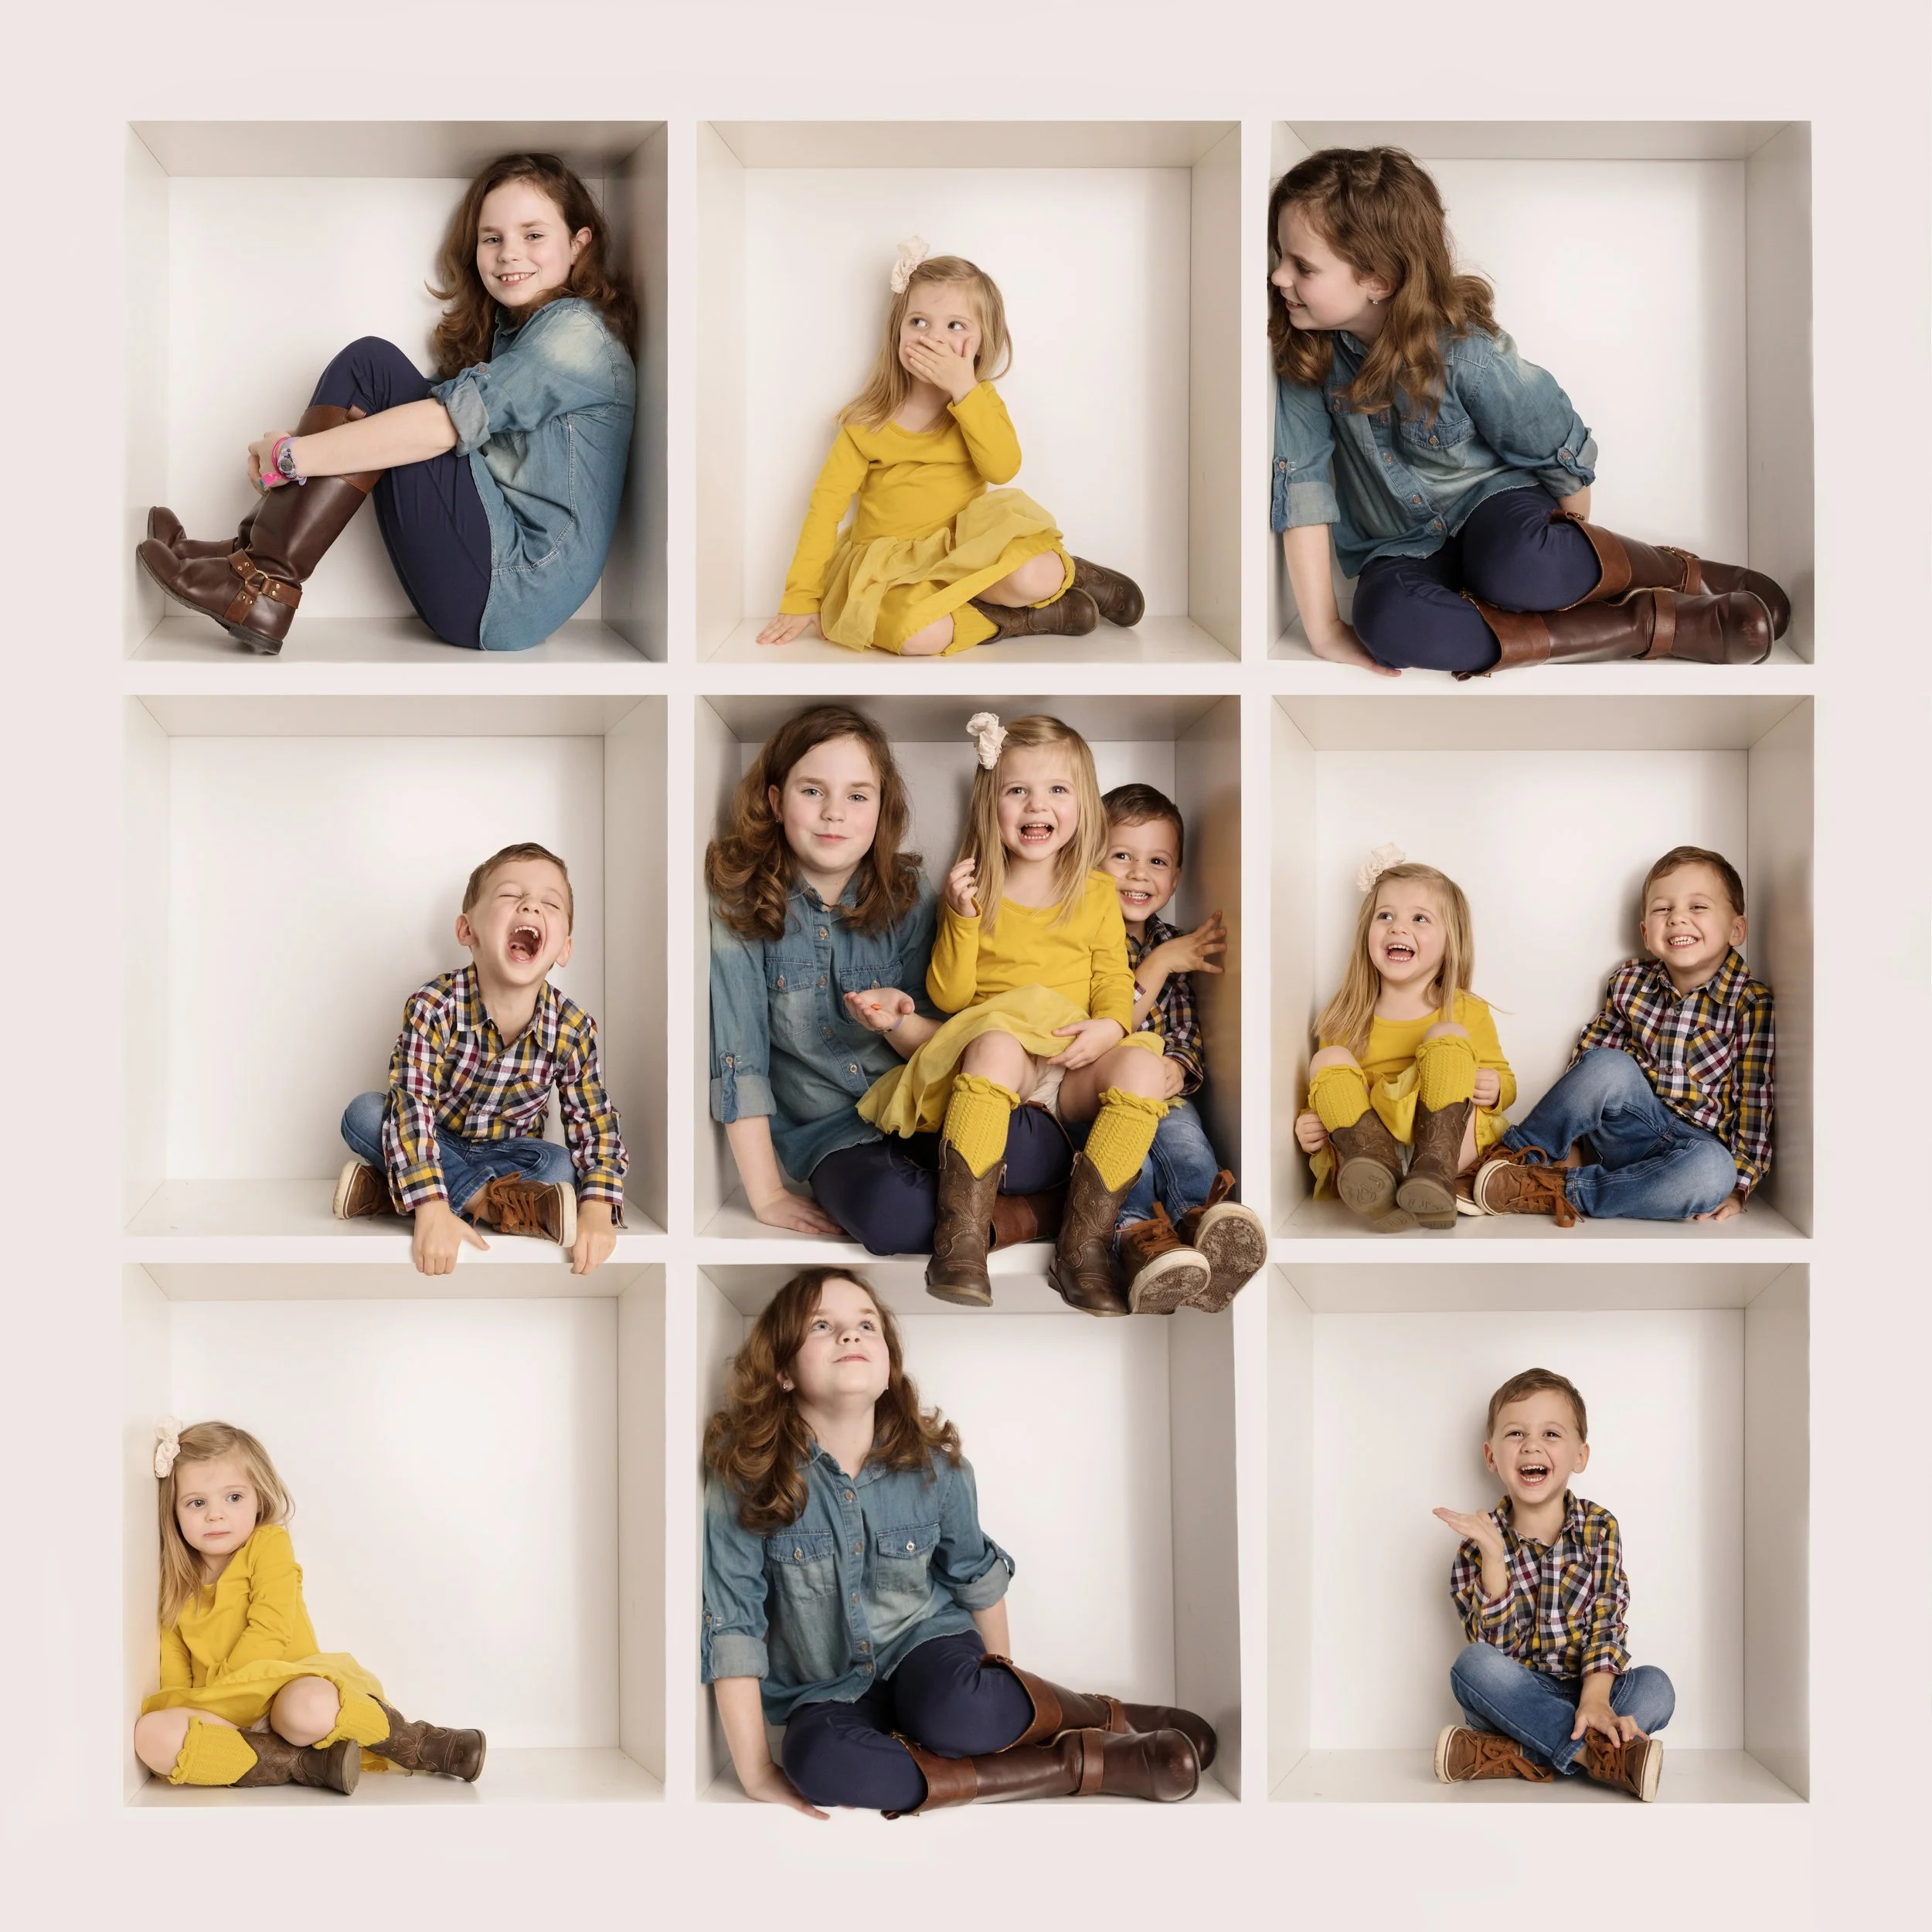
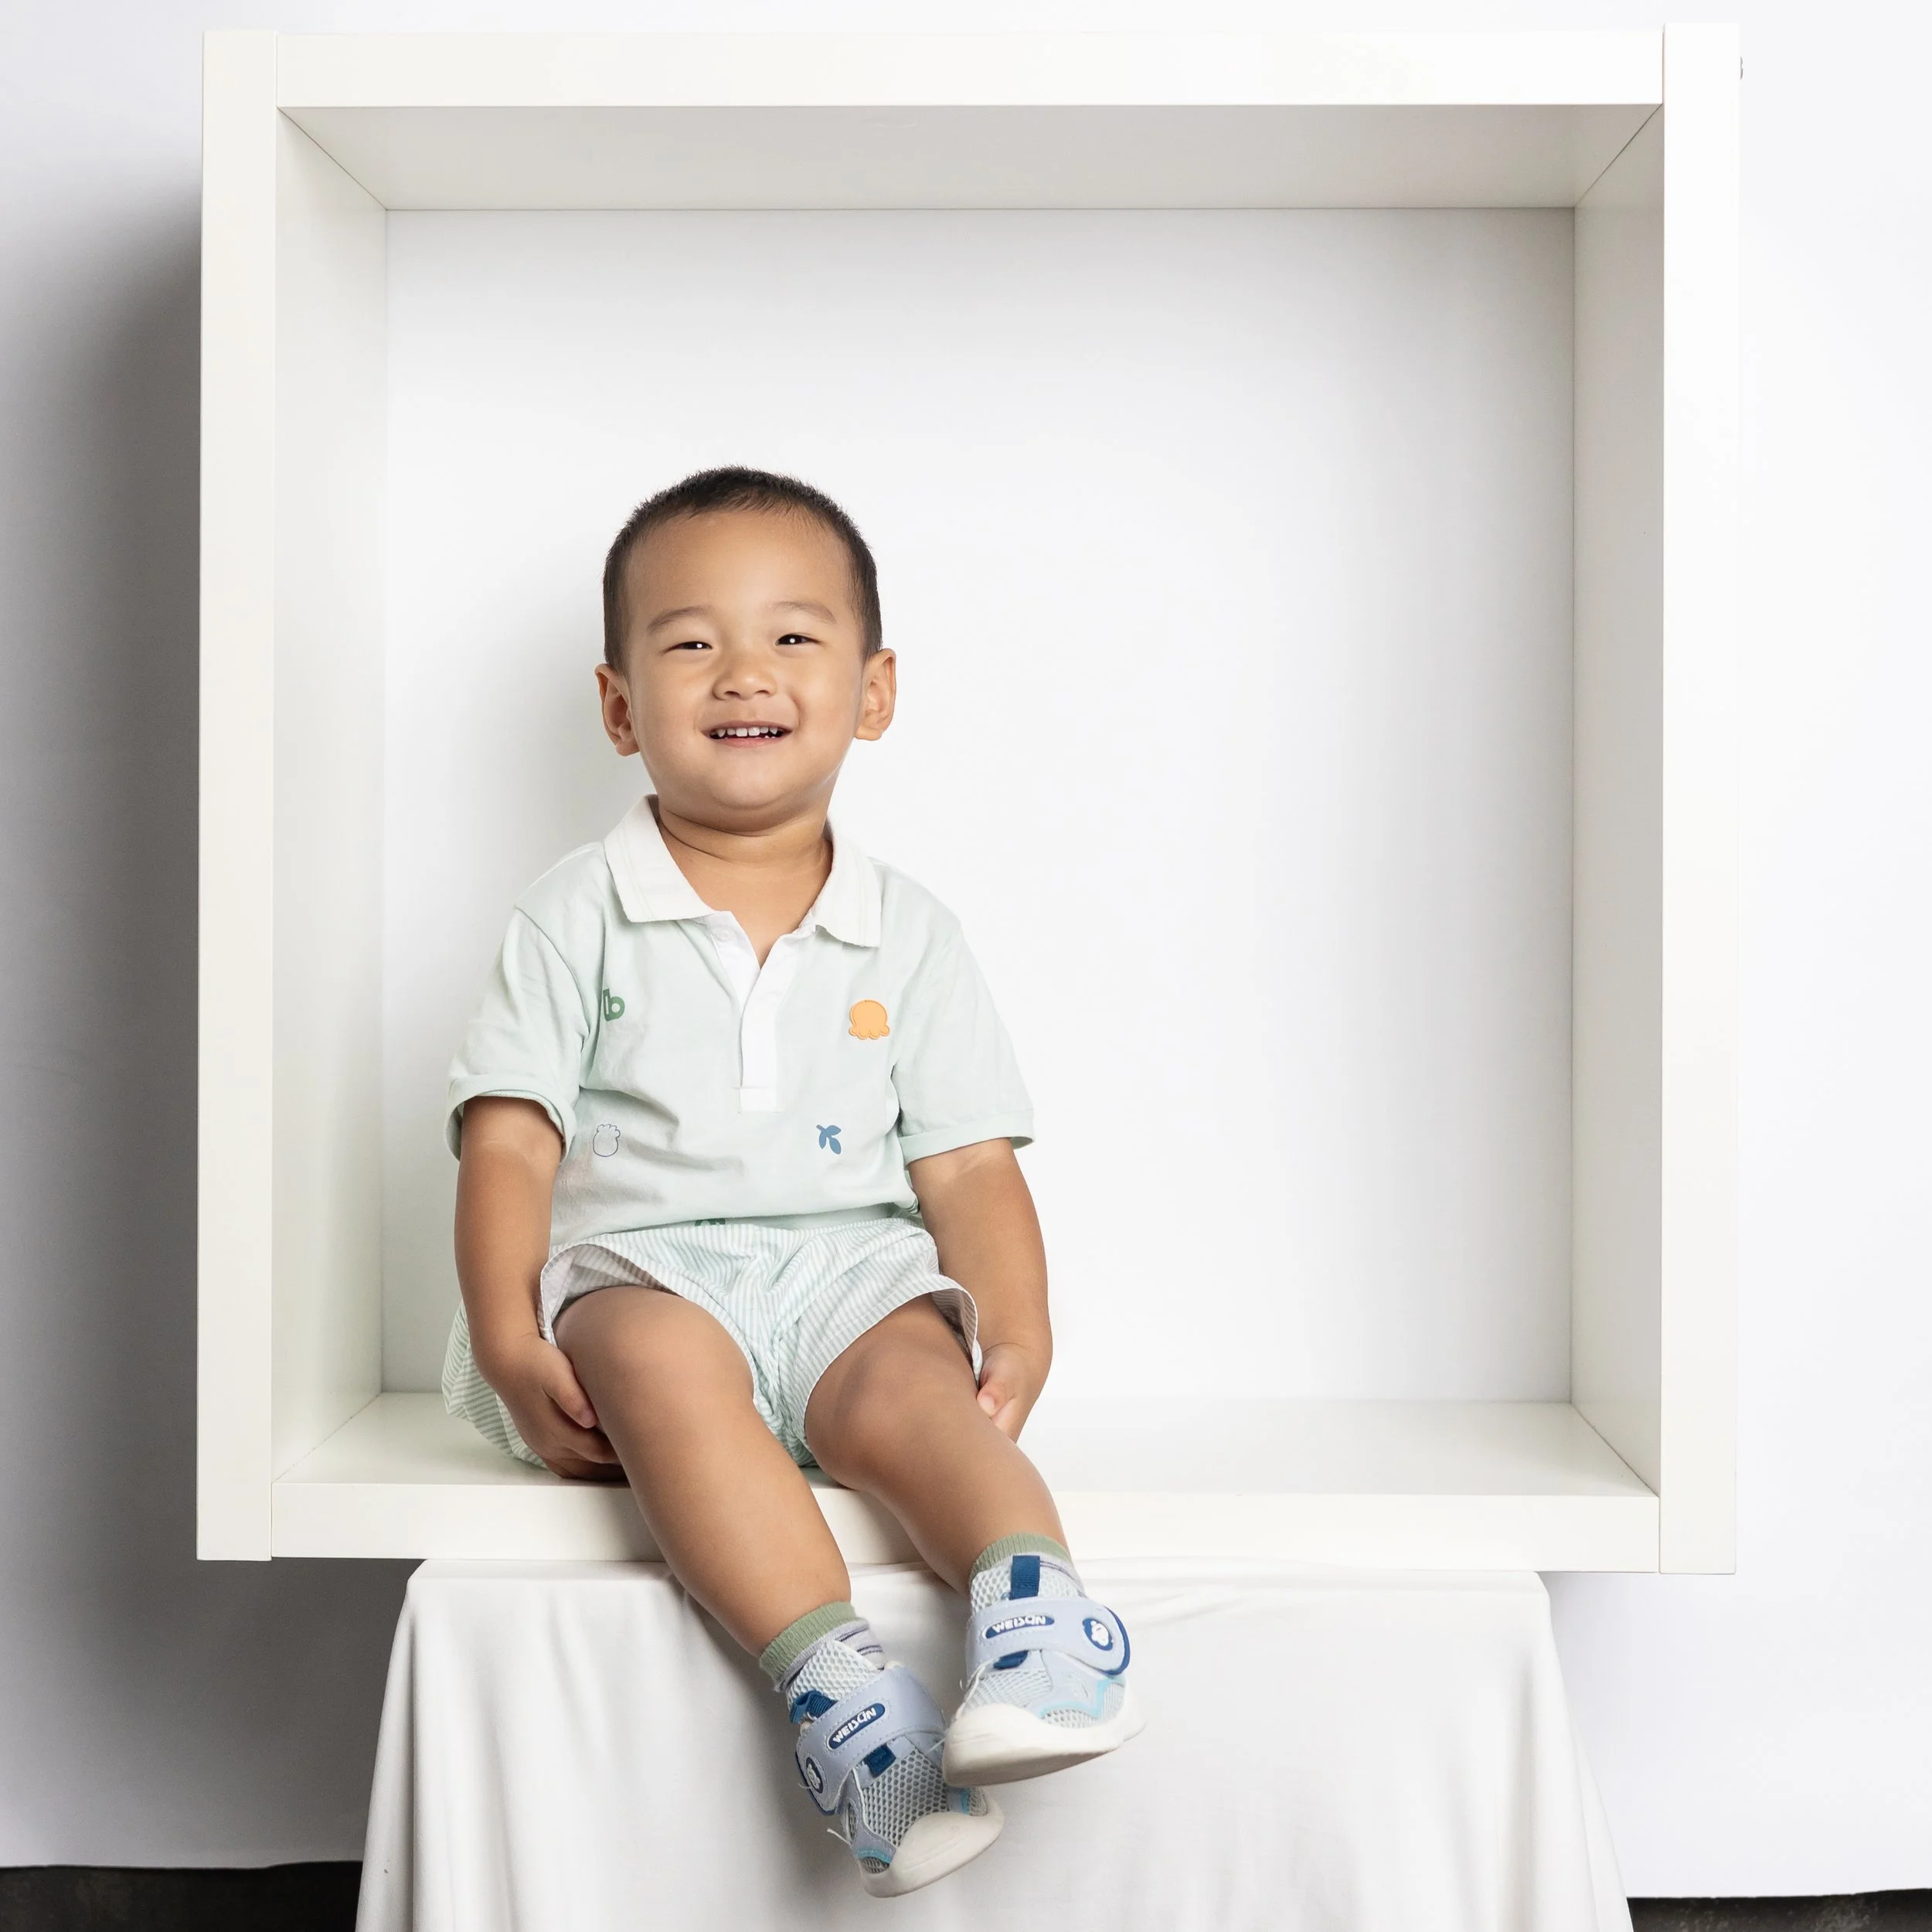
What Are In the Box Minis?
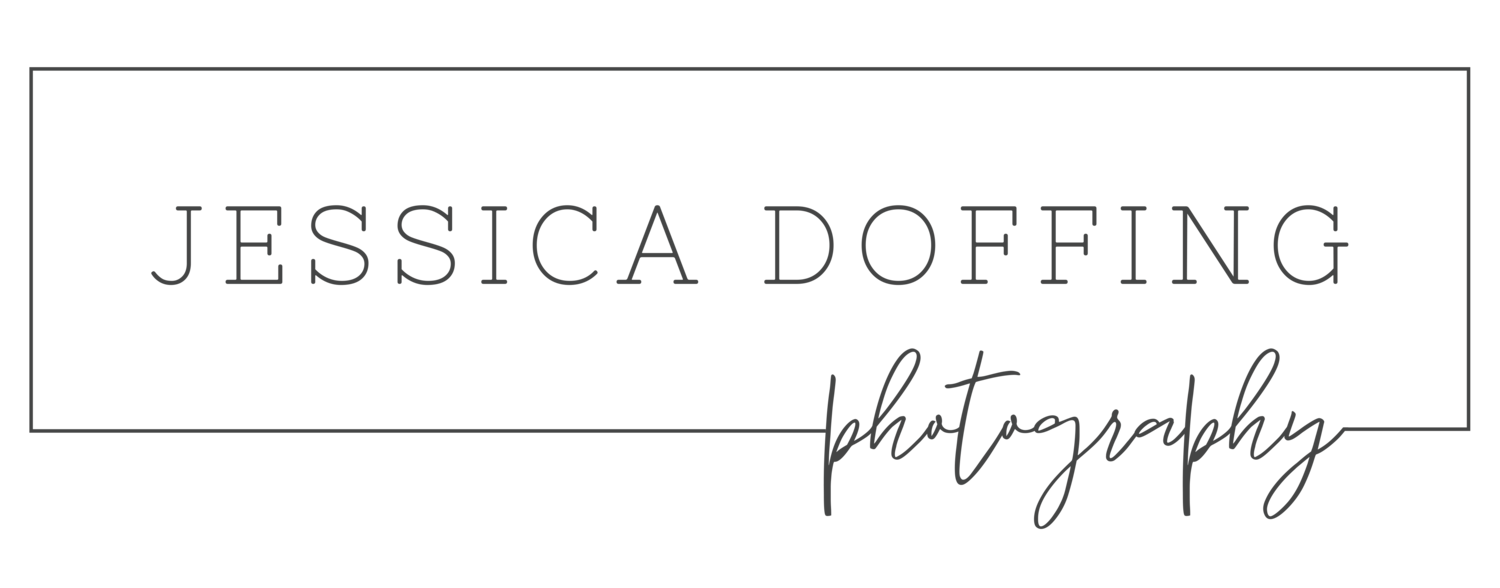
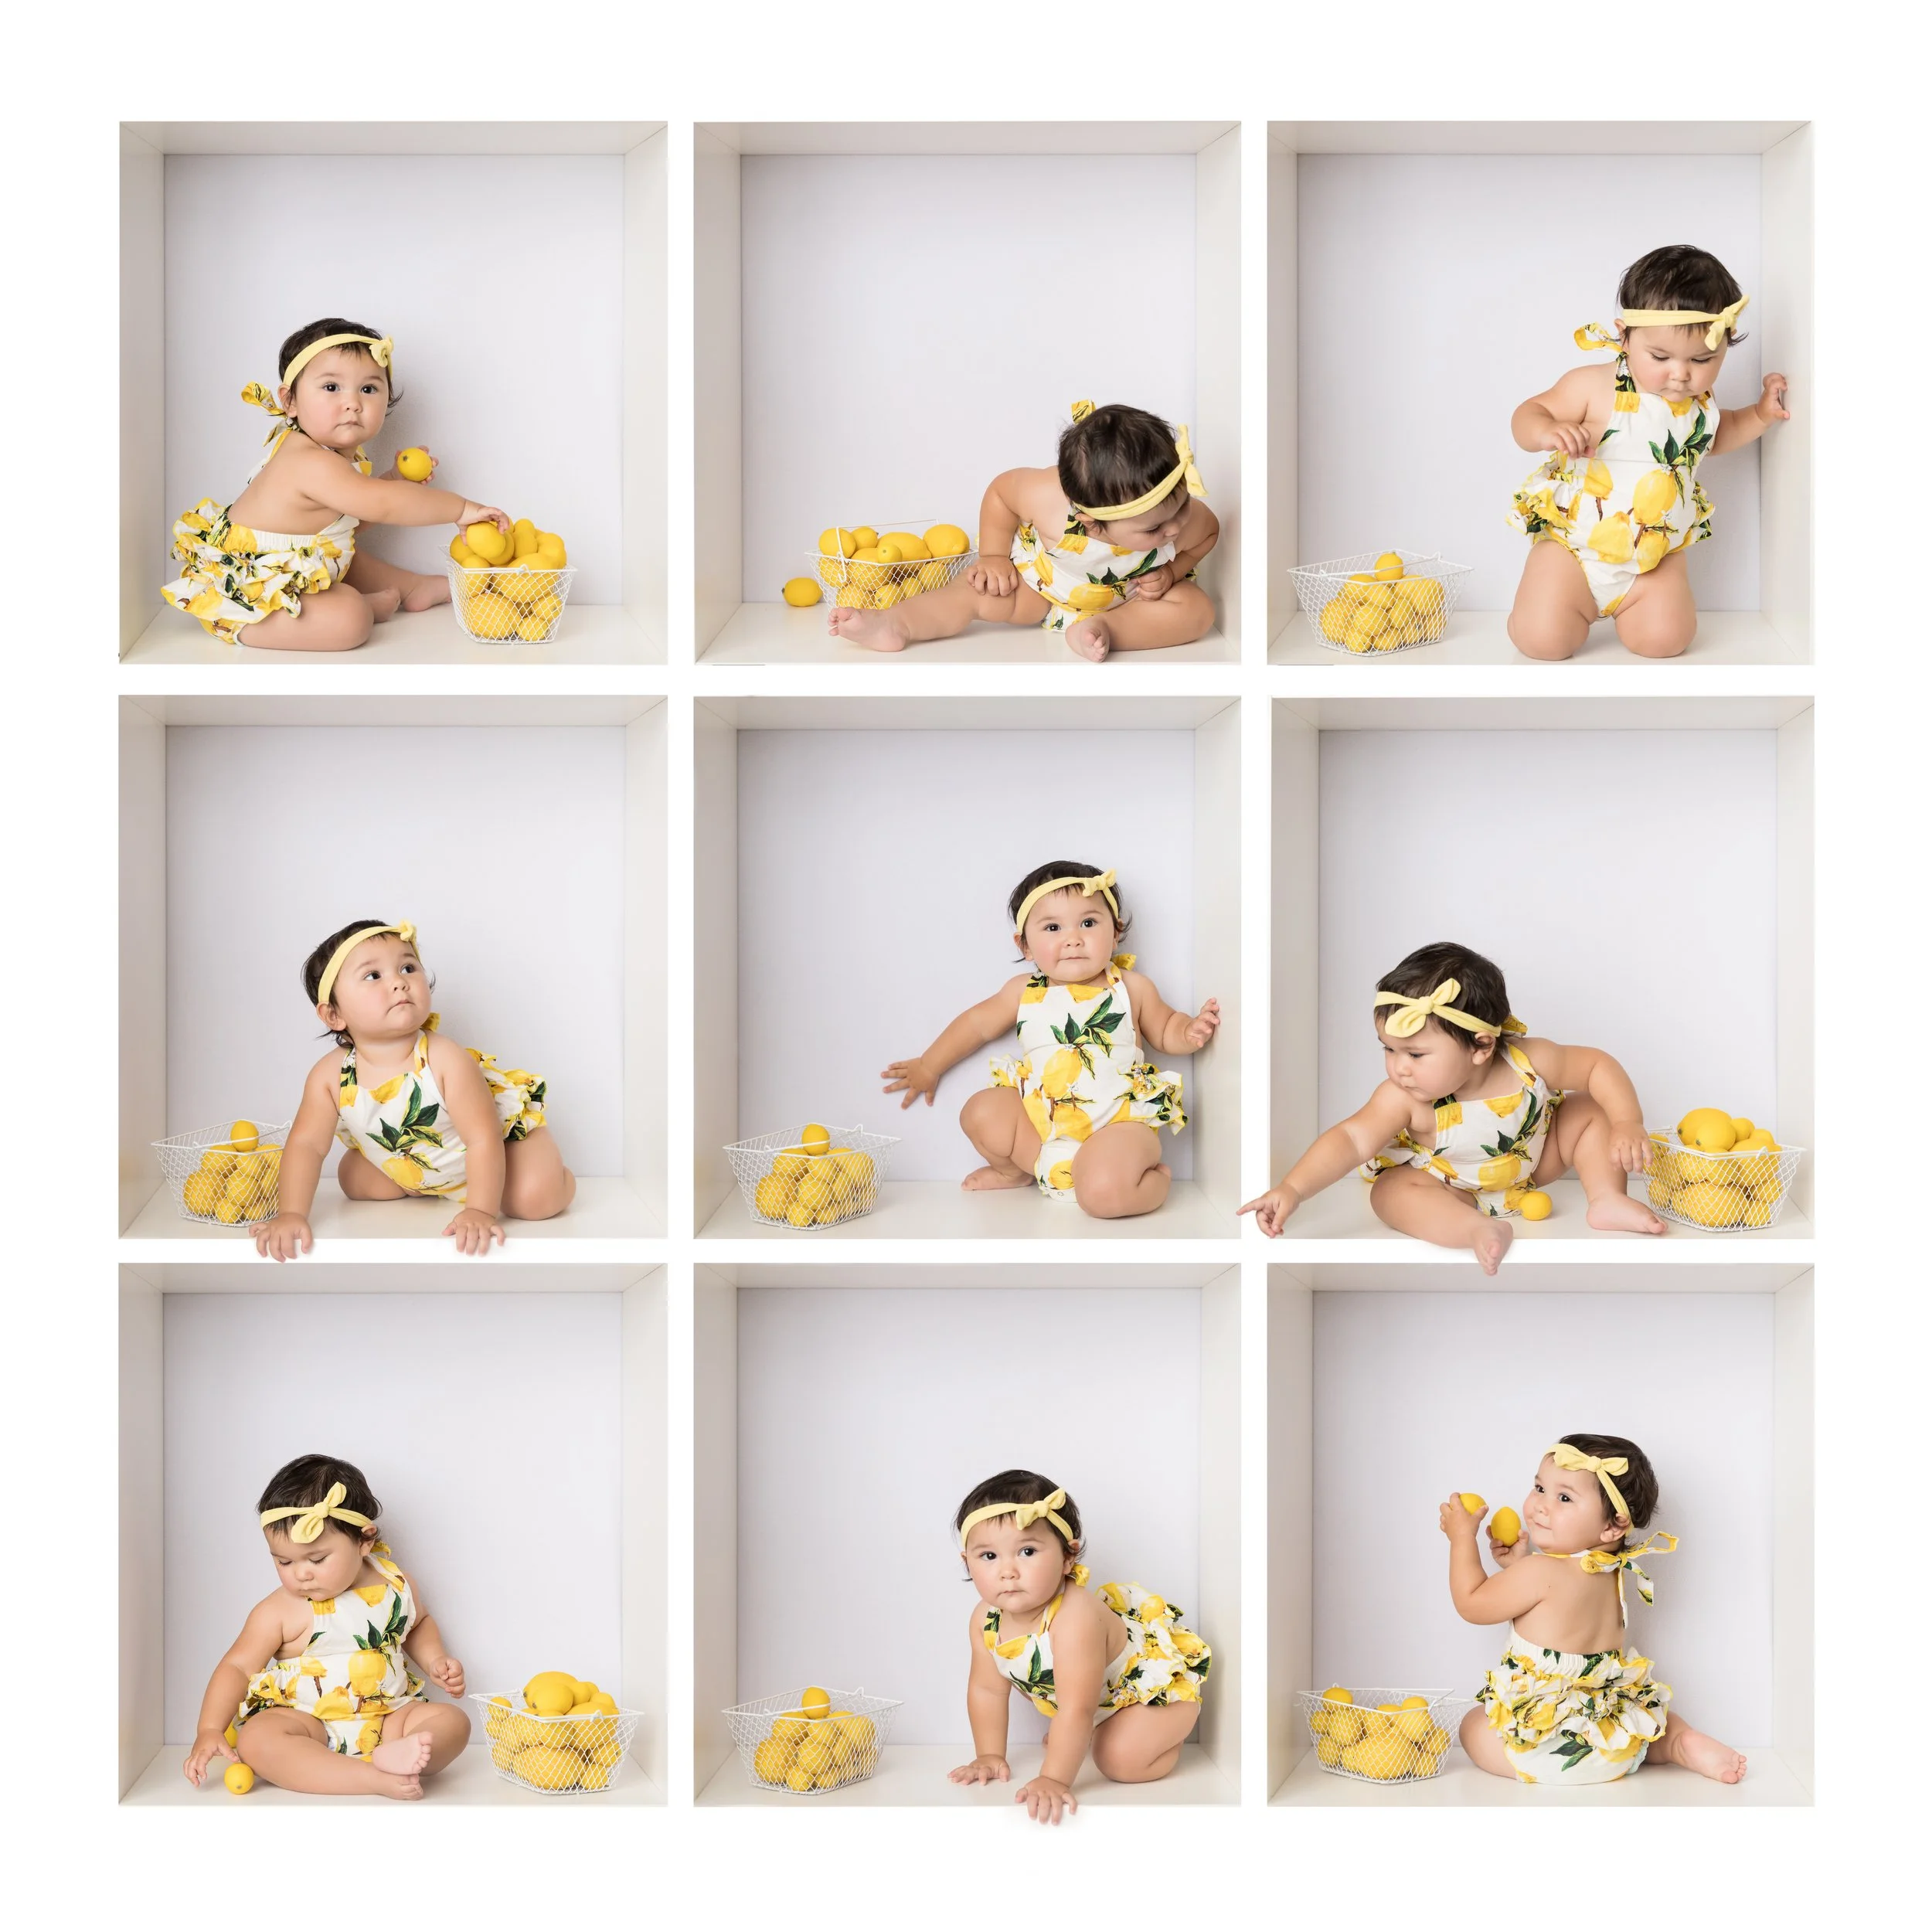
In the Box minis are a series of images taken of a child or children inside a square “box” setup. The final result is usually a collage where each square shows a slightly different pose, expression, or interaction. For parents, it feels fun and interactive. For photographers, it is efficient and easy to scale.
The Simple Setup
You do not need anything complicated to make this work.
A 3 ft cube shelf or box (Ikea 4-square Kallax units work great, but even a sturdy square cardboard box can work)
A solid platform so everything stays level
White fabric to cover the back and bottom
A tripod
The key here is consistency. Your camera needs to stay in the exact same position for every shot.
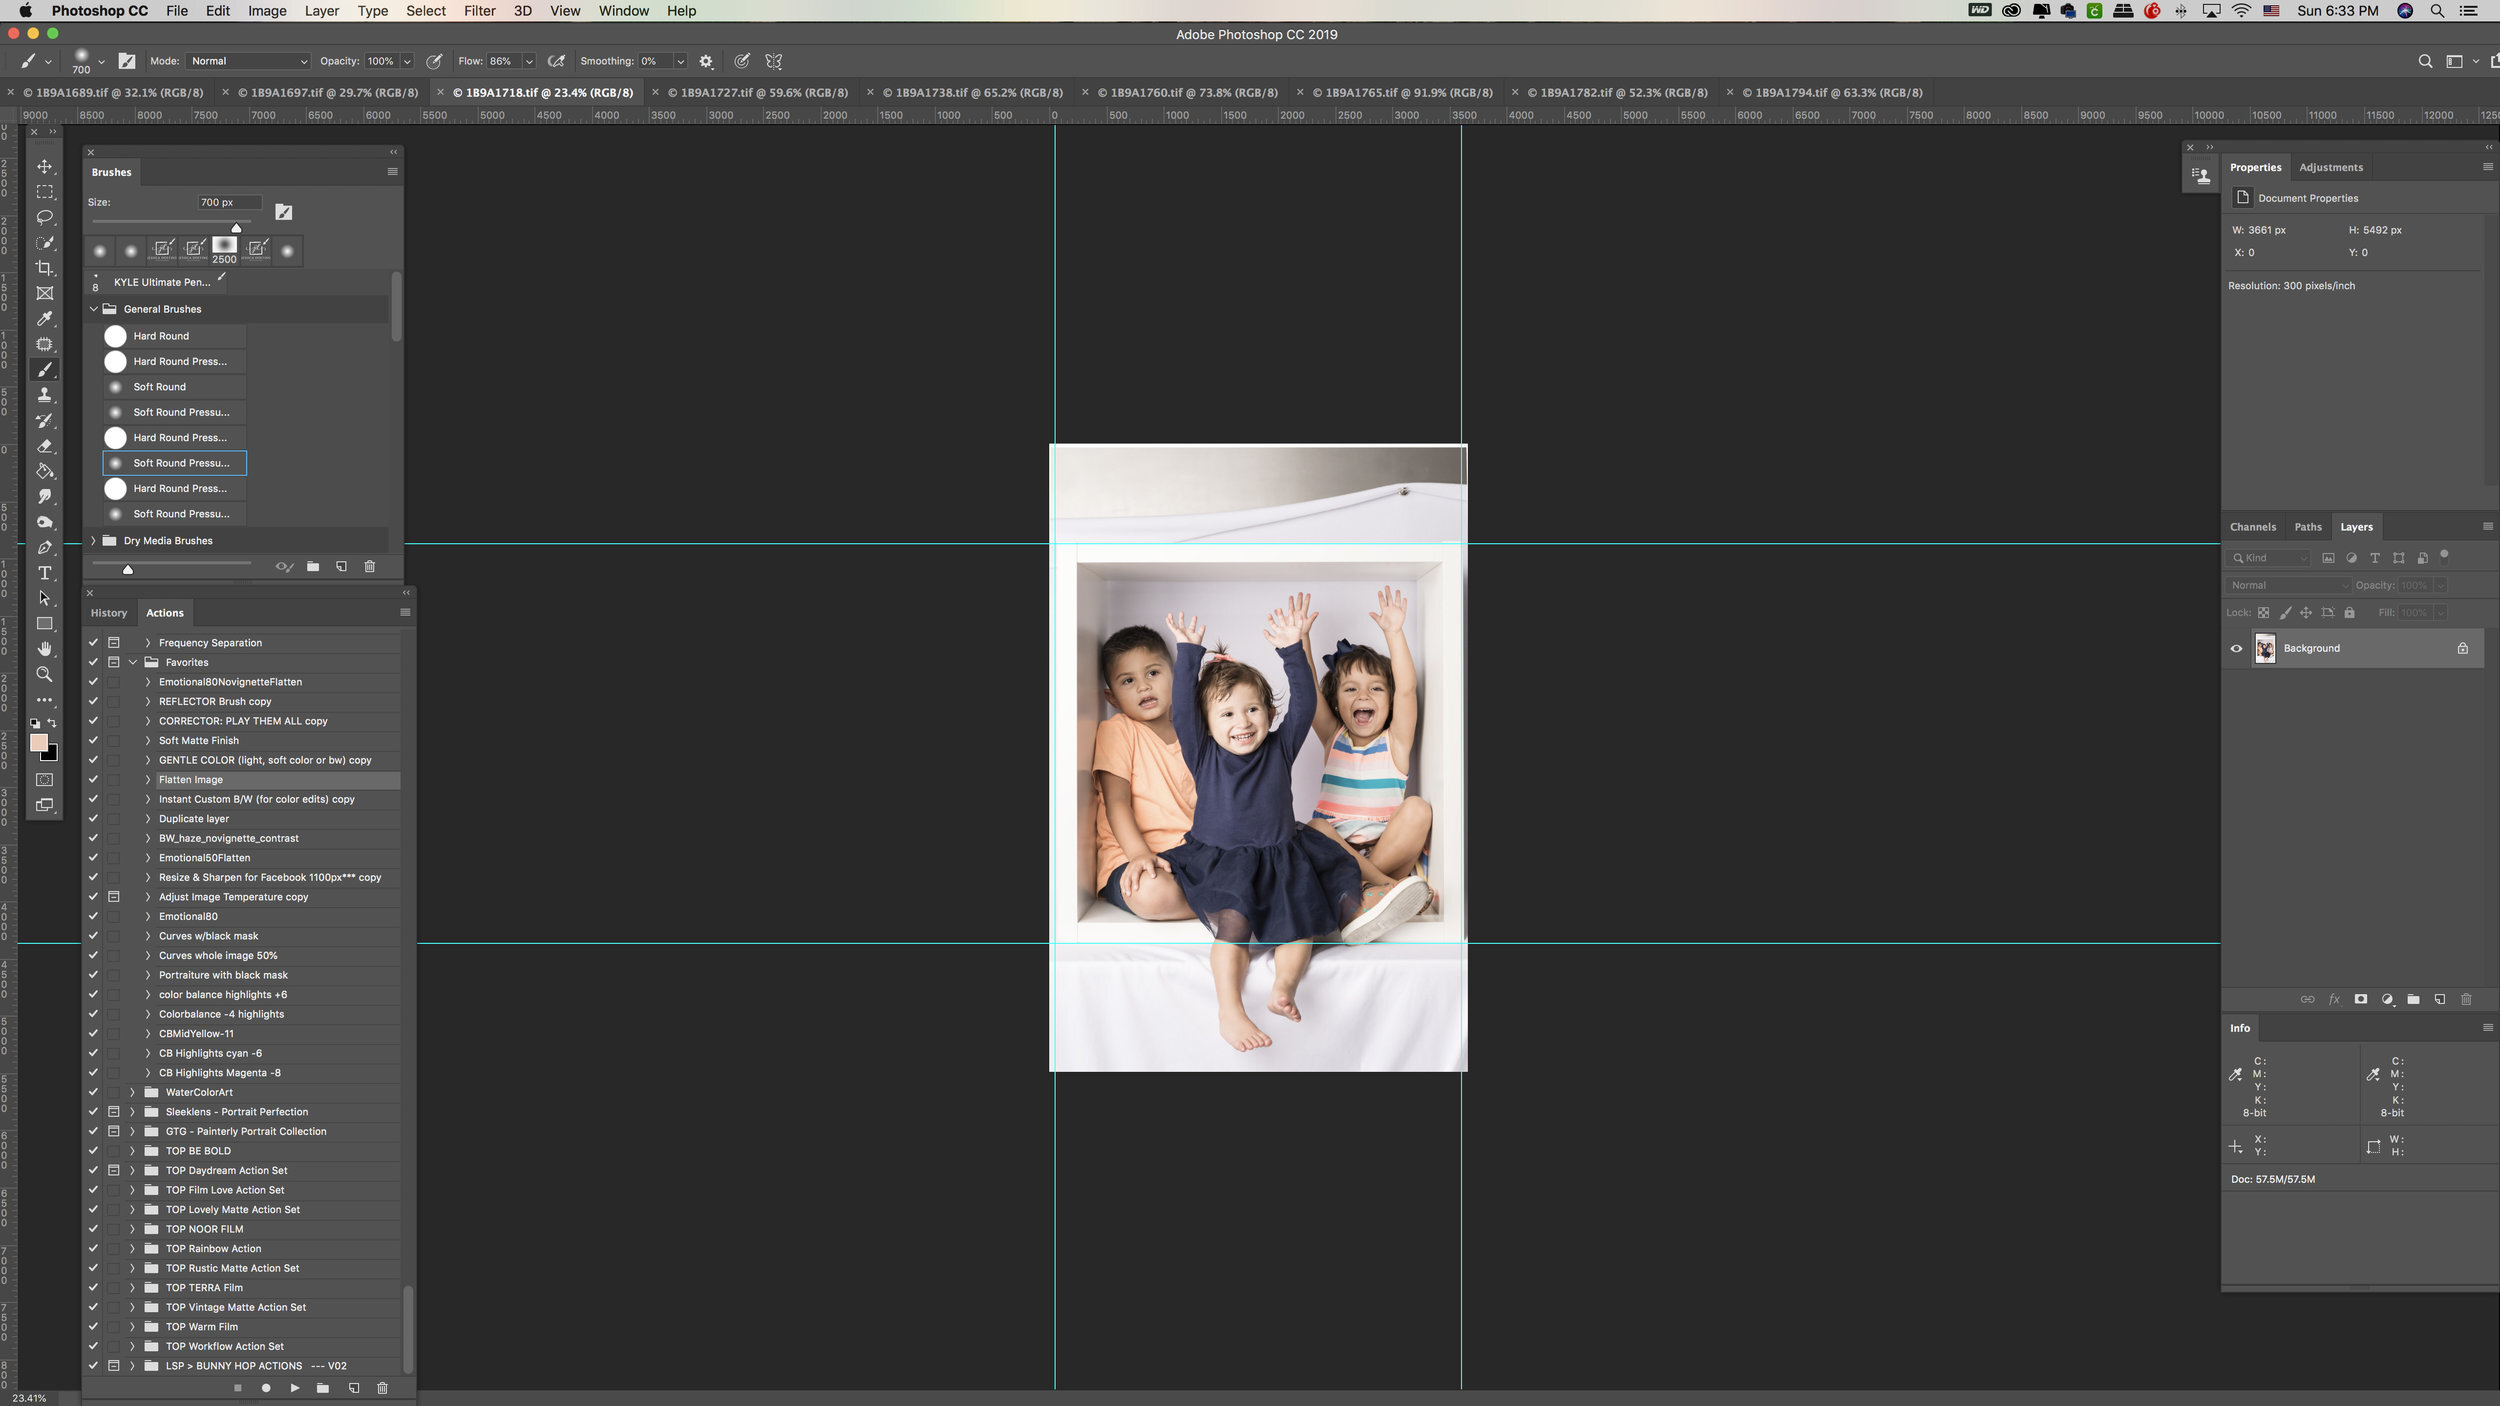
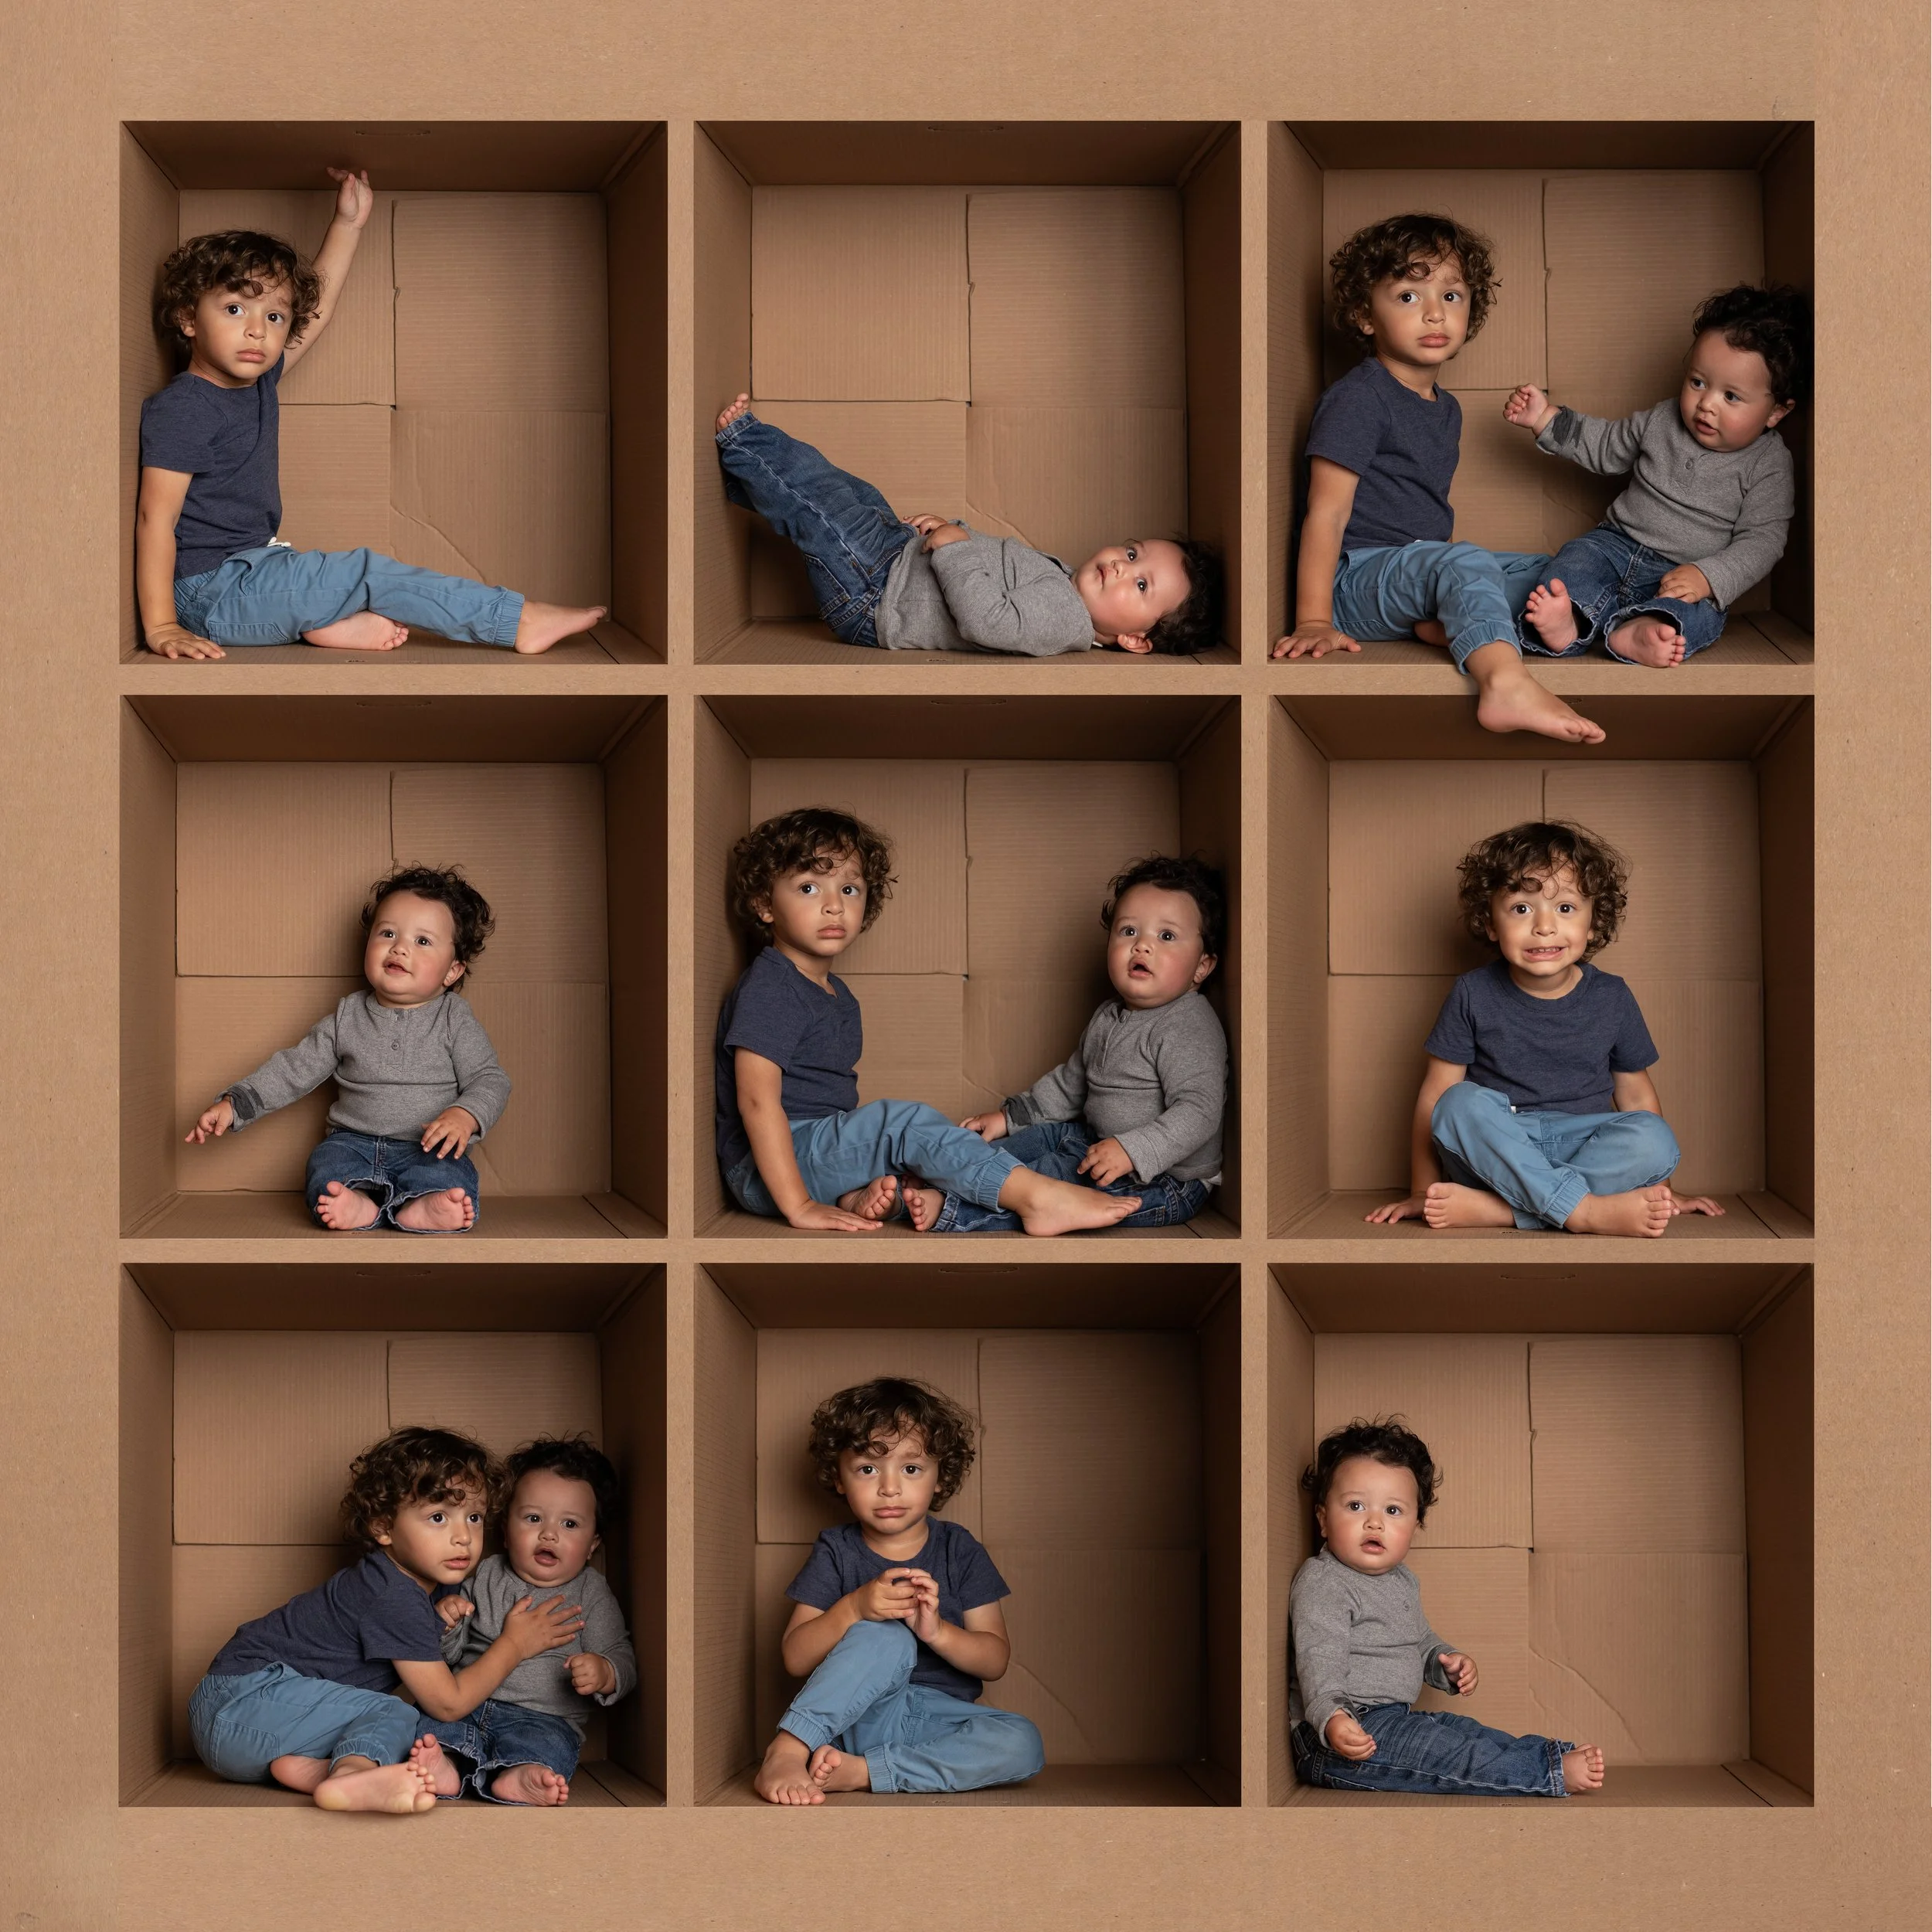
Using perspective warp in Photoshop to fix my wonkiness because I DIDN’T follow my own advice! 🤦♀️
Why a Tripod Matters More Than You Think
Set your camera on a tripod and take the extra minute to level it perfectly. This is not optional. If your camera shifts even slightly, your final collage becomes harder to align and takes longer to edit. A level, locked-in frame will save you a significant amount of time later.
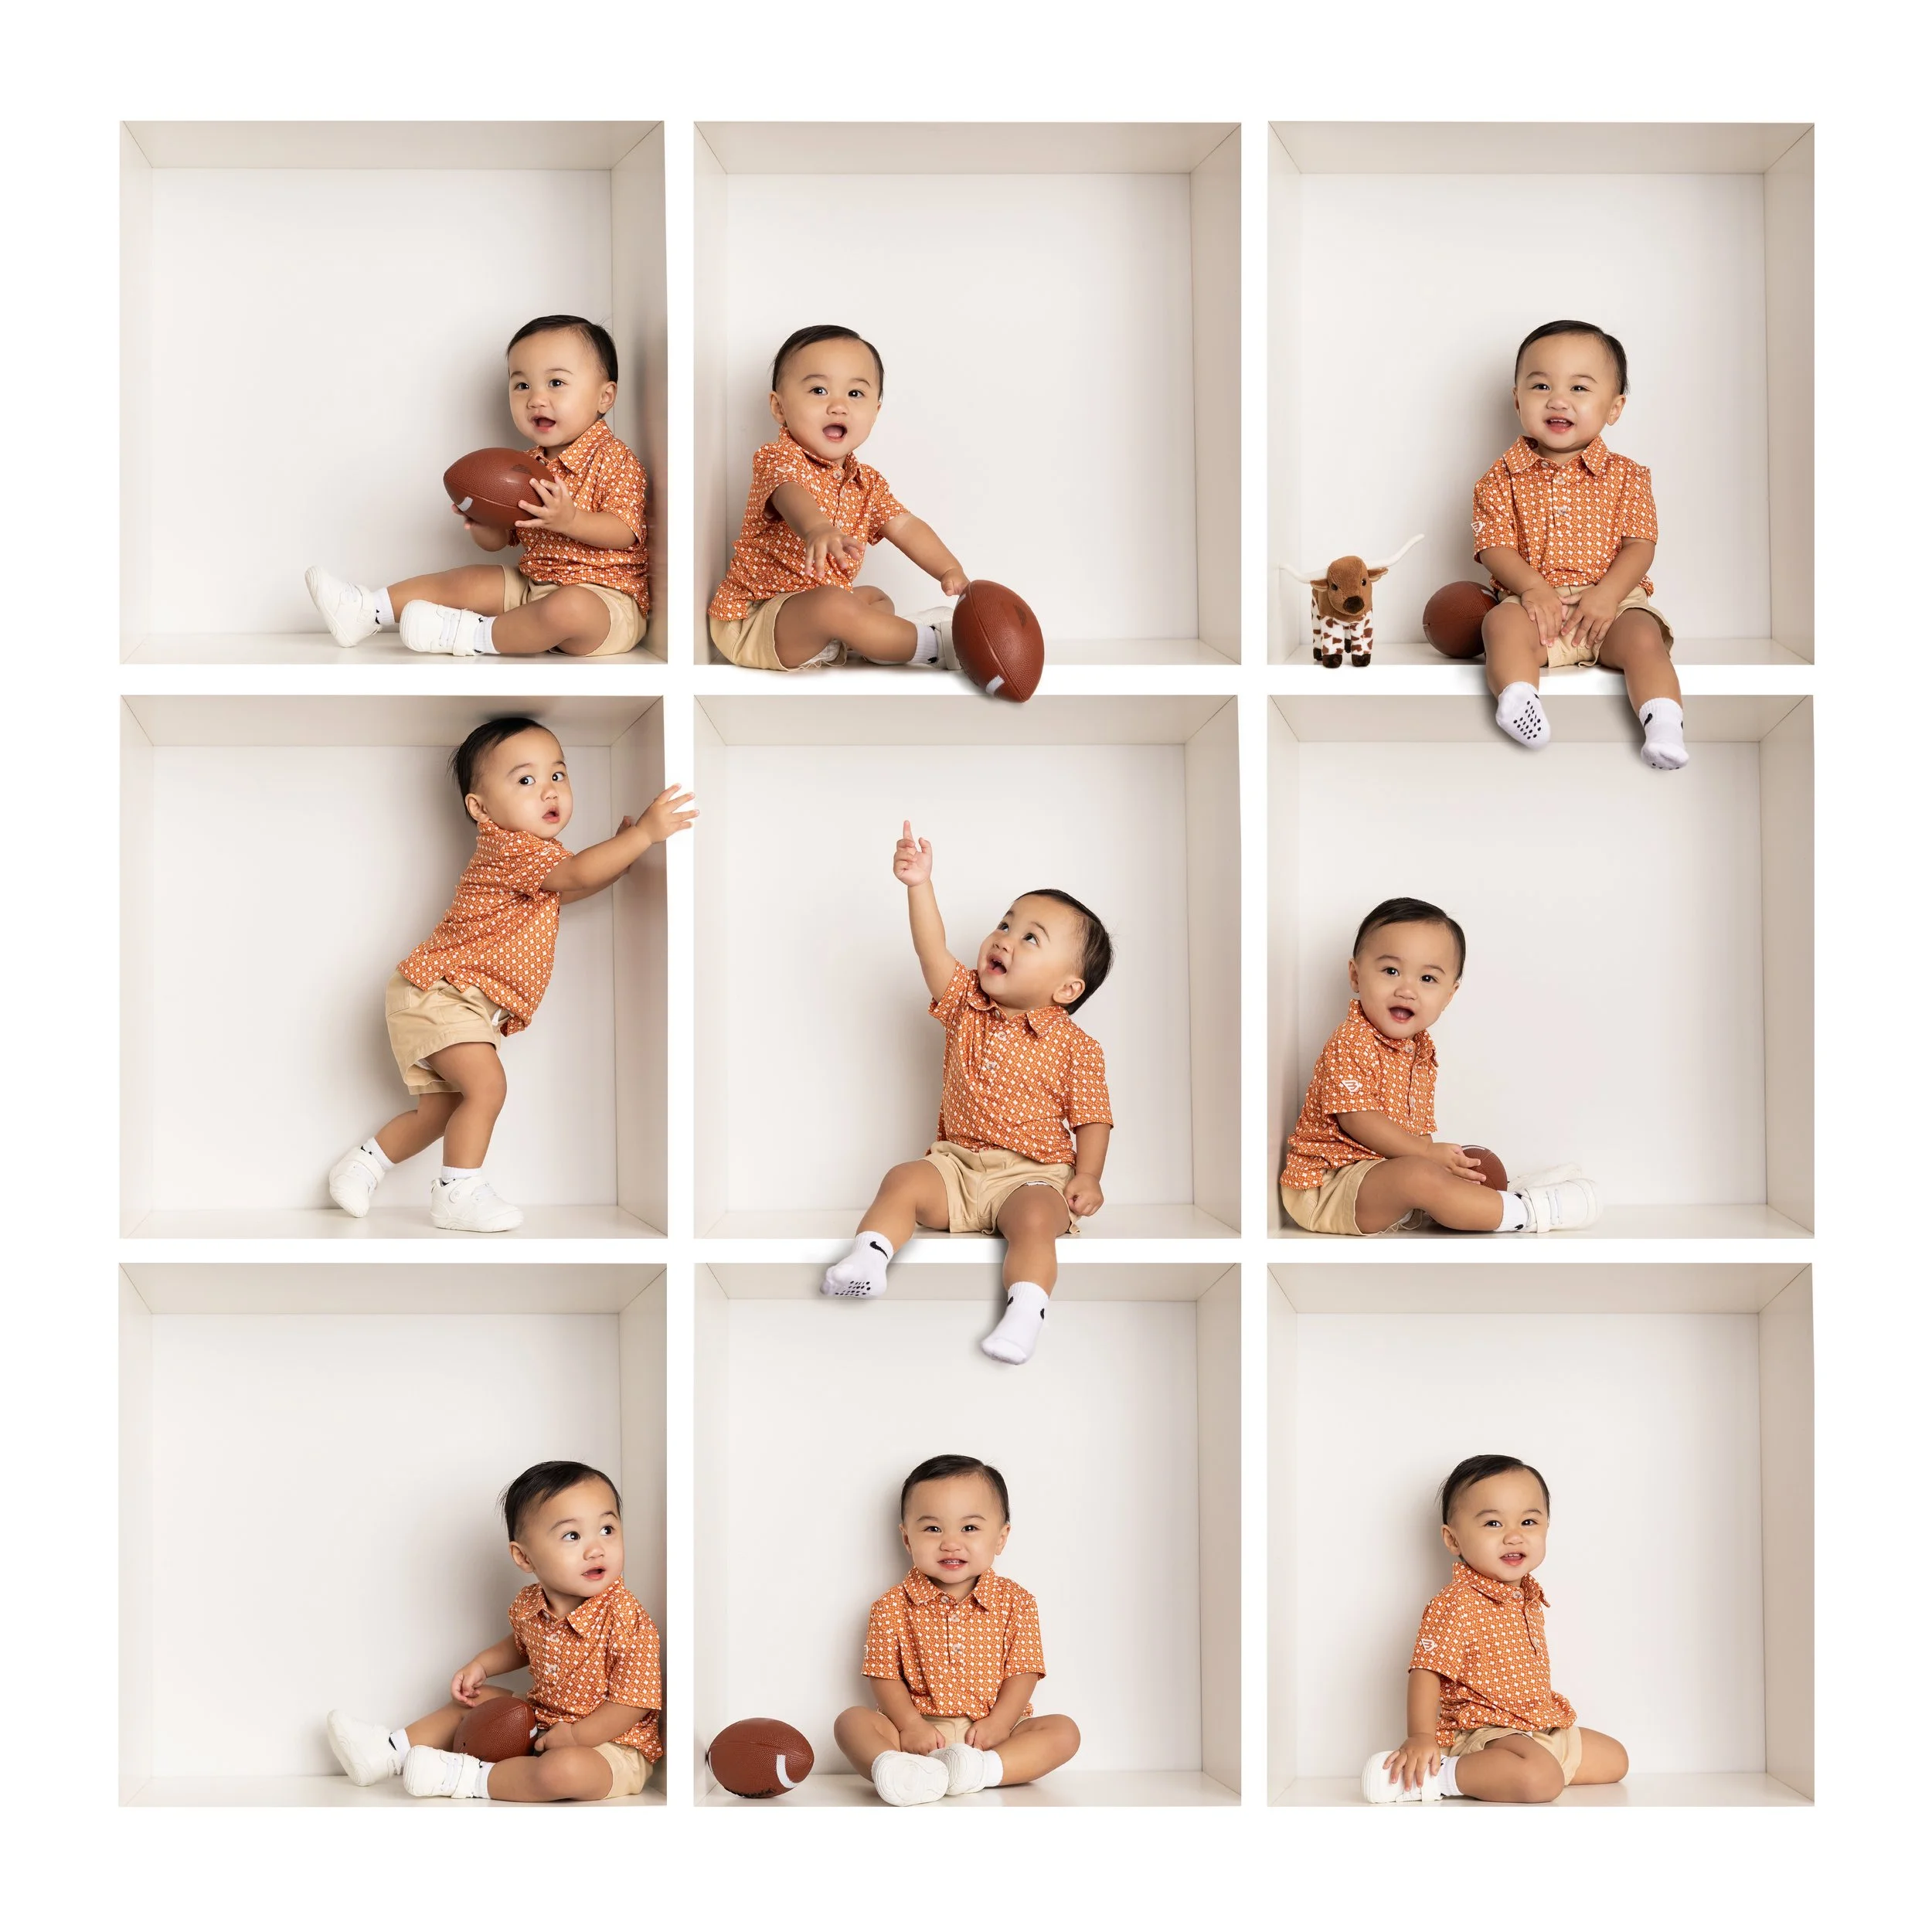
The 10-Minute Shooting Workflow
This is where In the Box minis really shine. You are not chasing perfection in one shot. You are capturing a variety of small moments quickly.
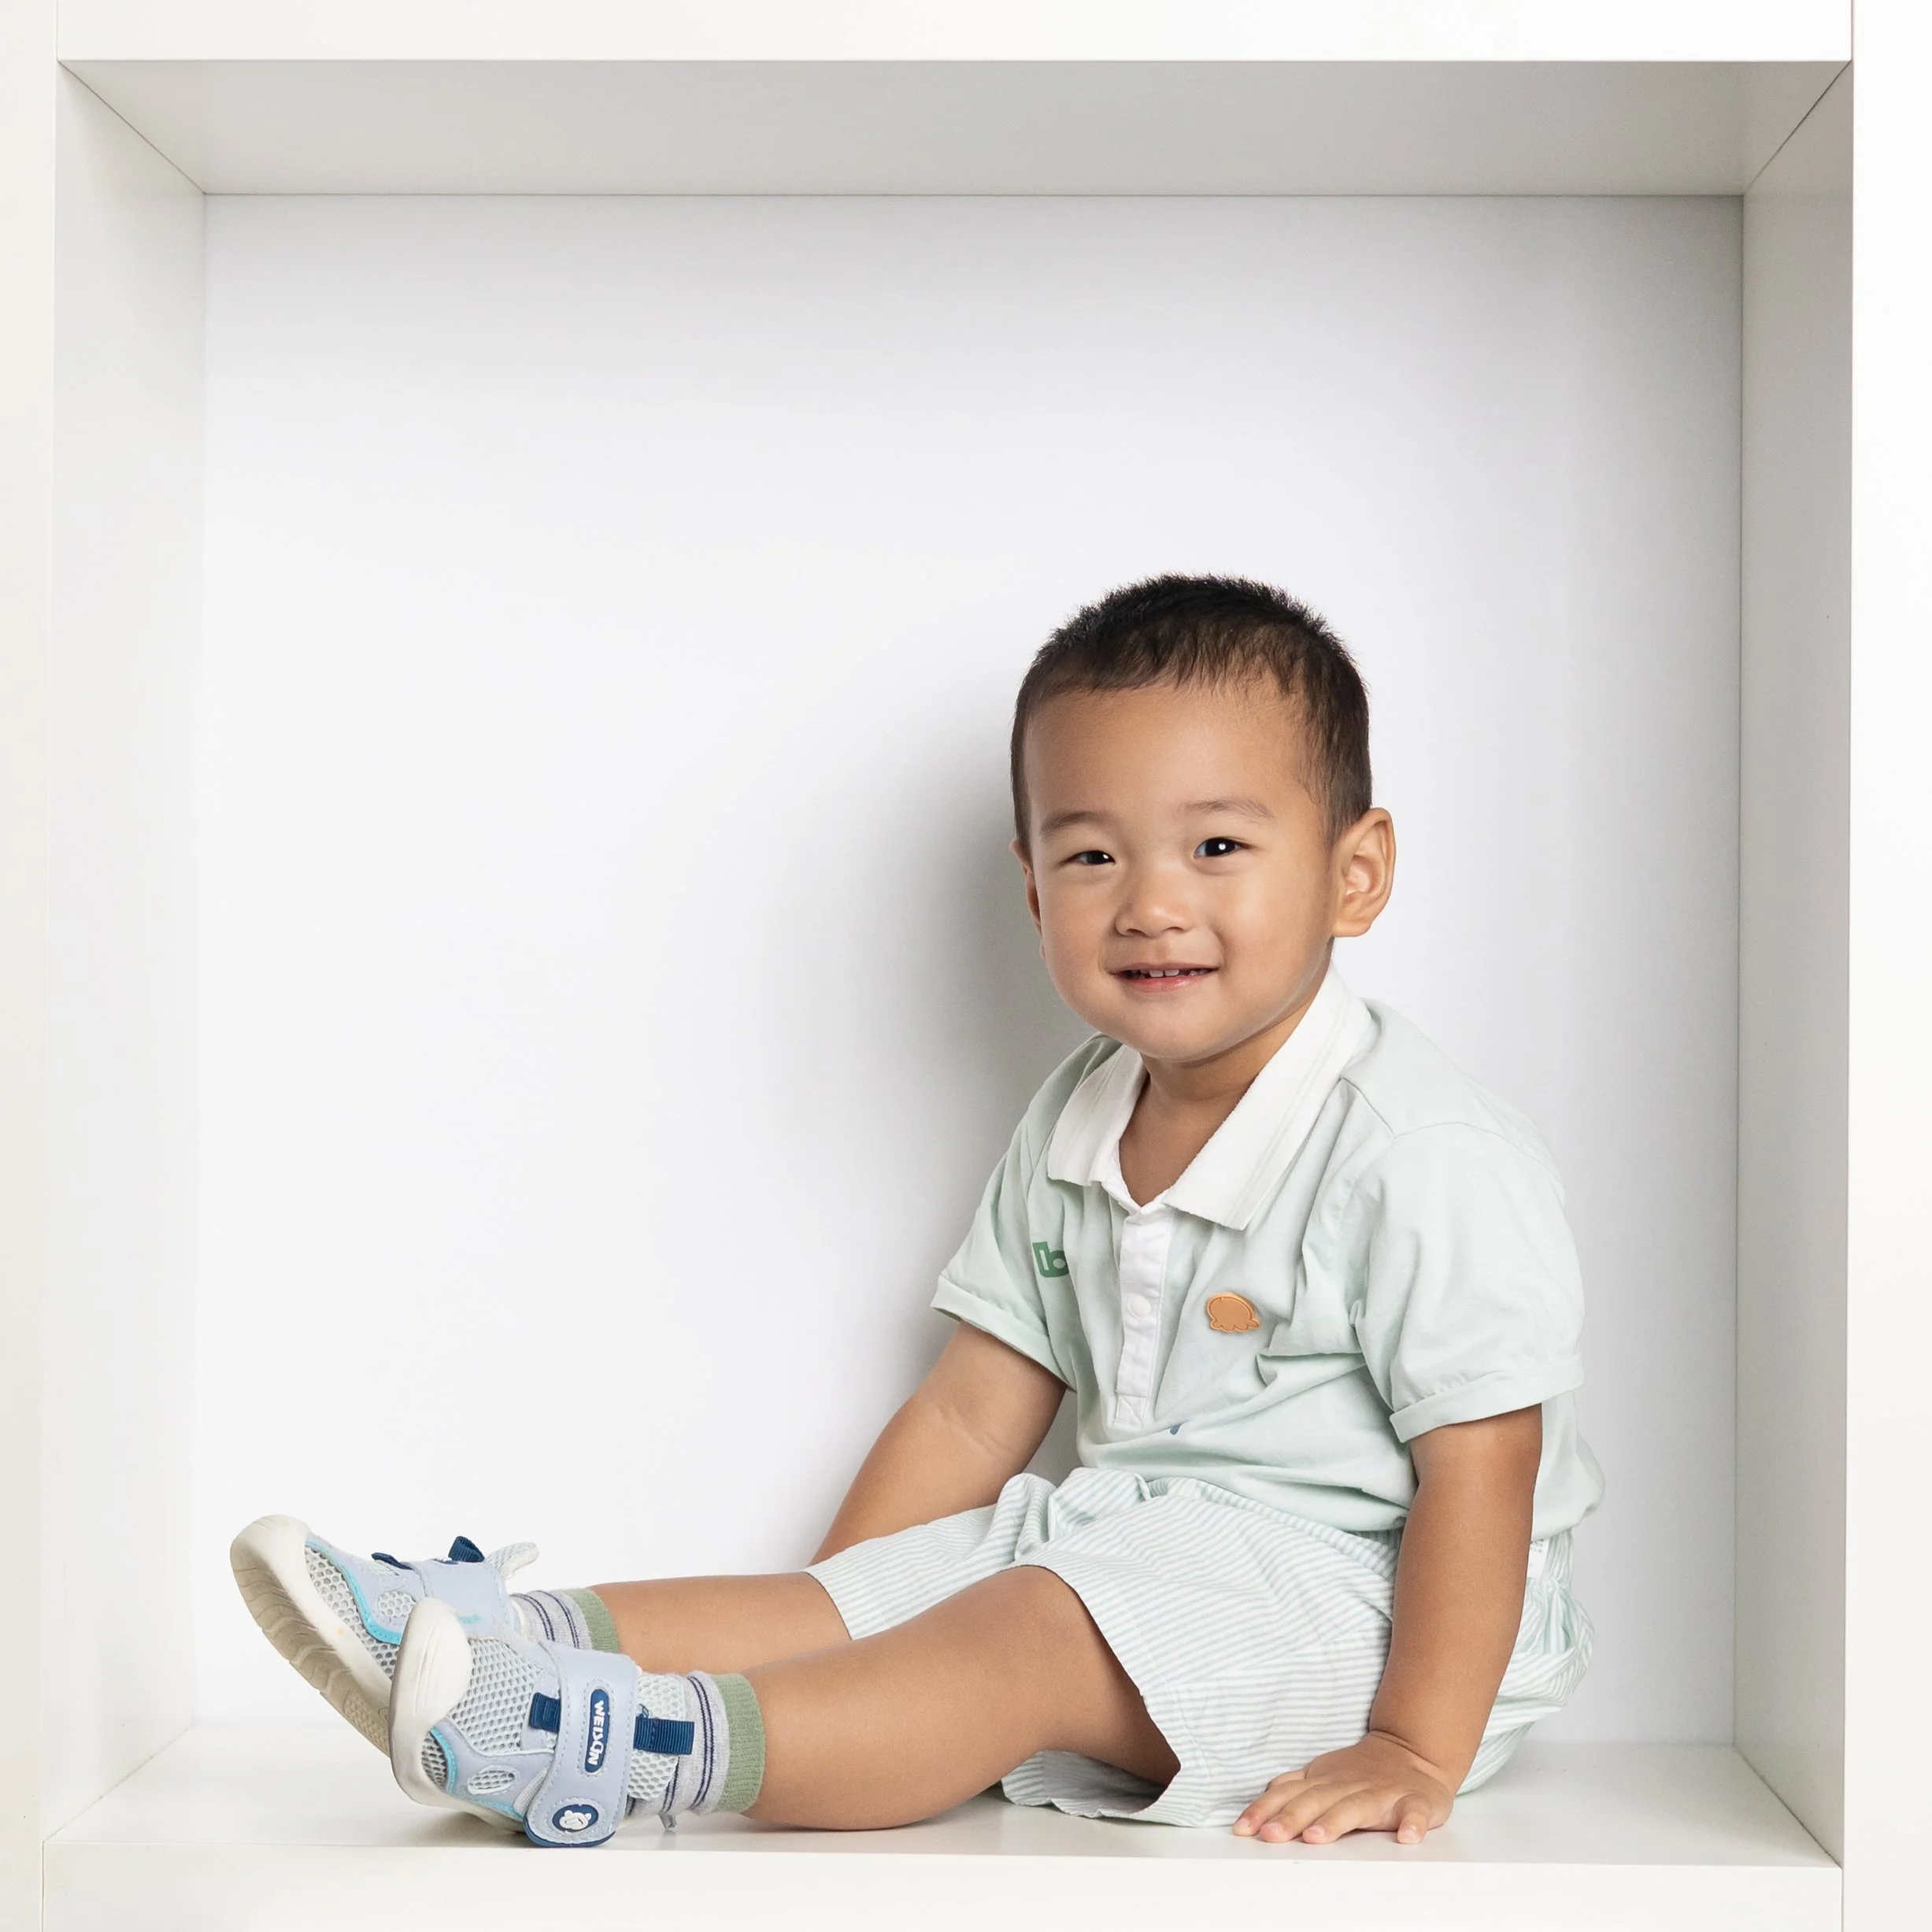
Start with the child fully inside the box.
Move through these variations:
Position: left, center, right
Eye direction: up, down, left, right
Expression: smiling, neutral, silly
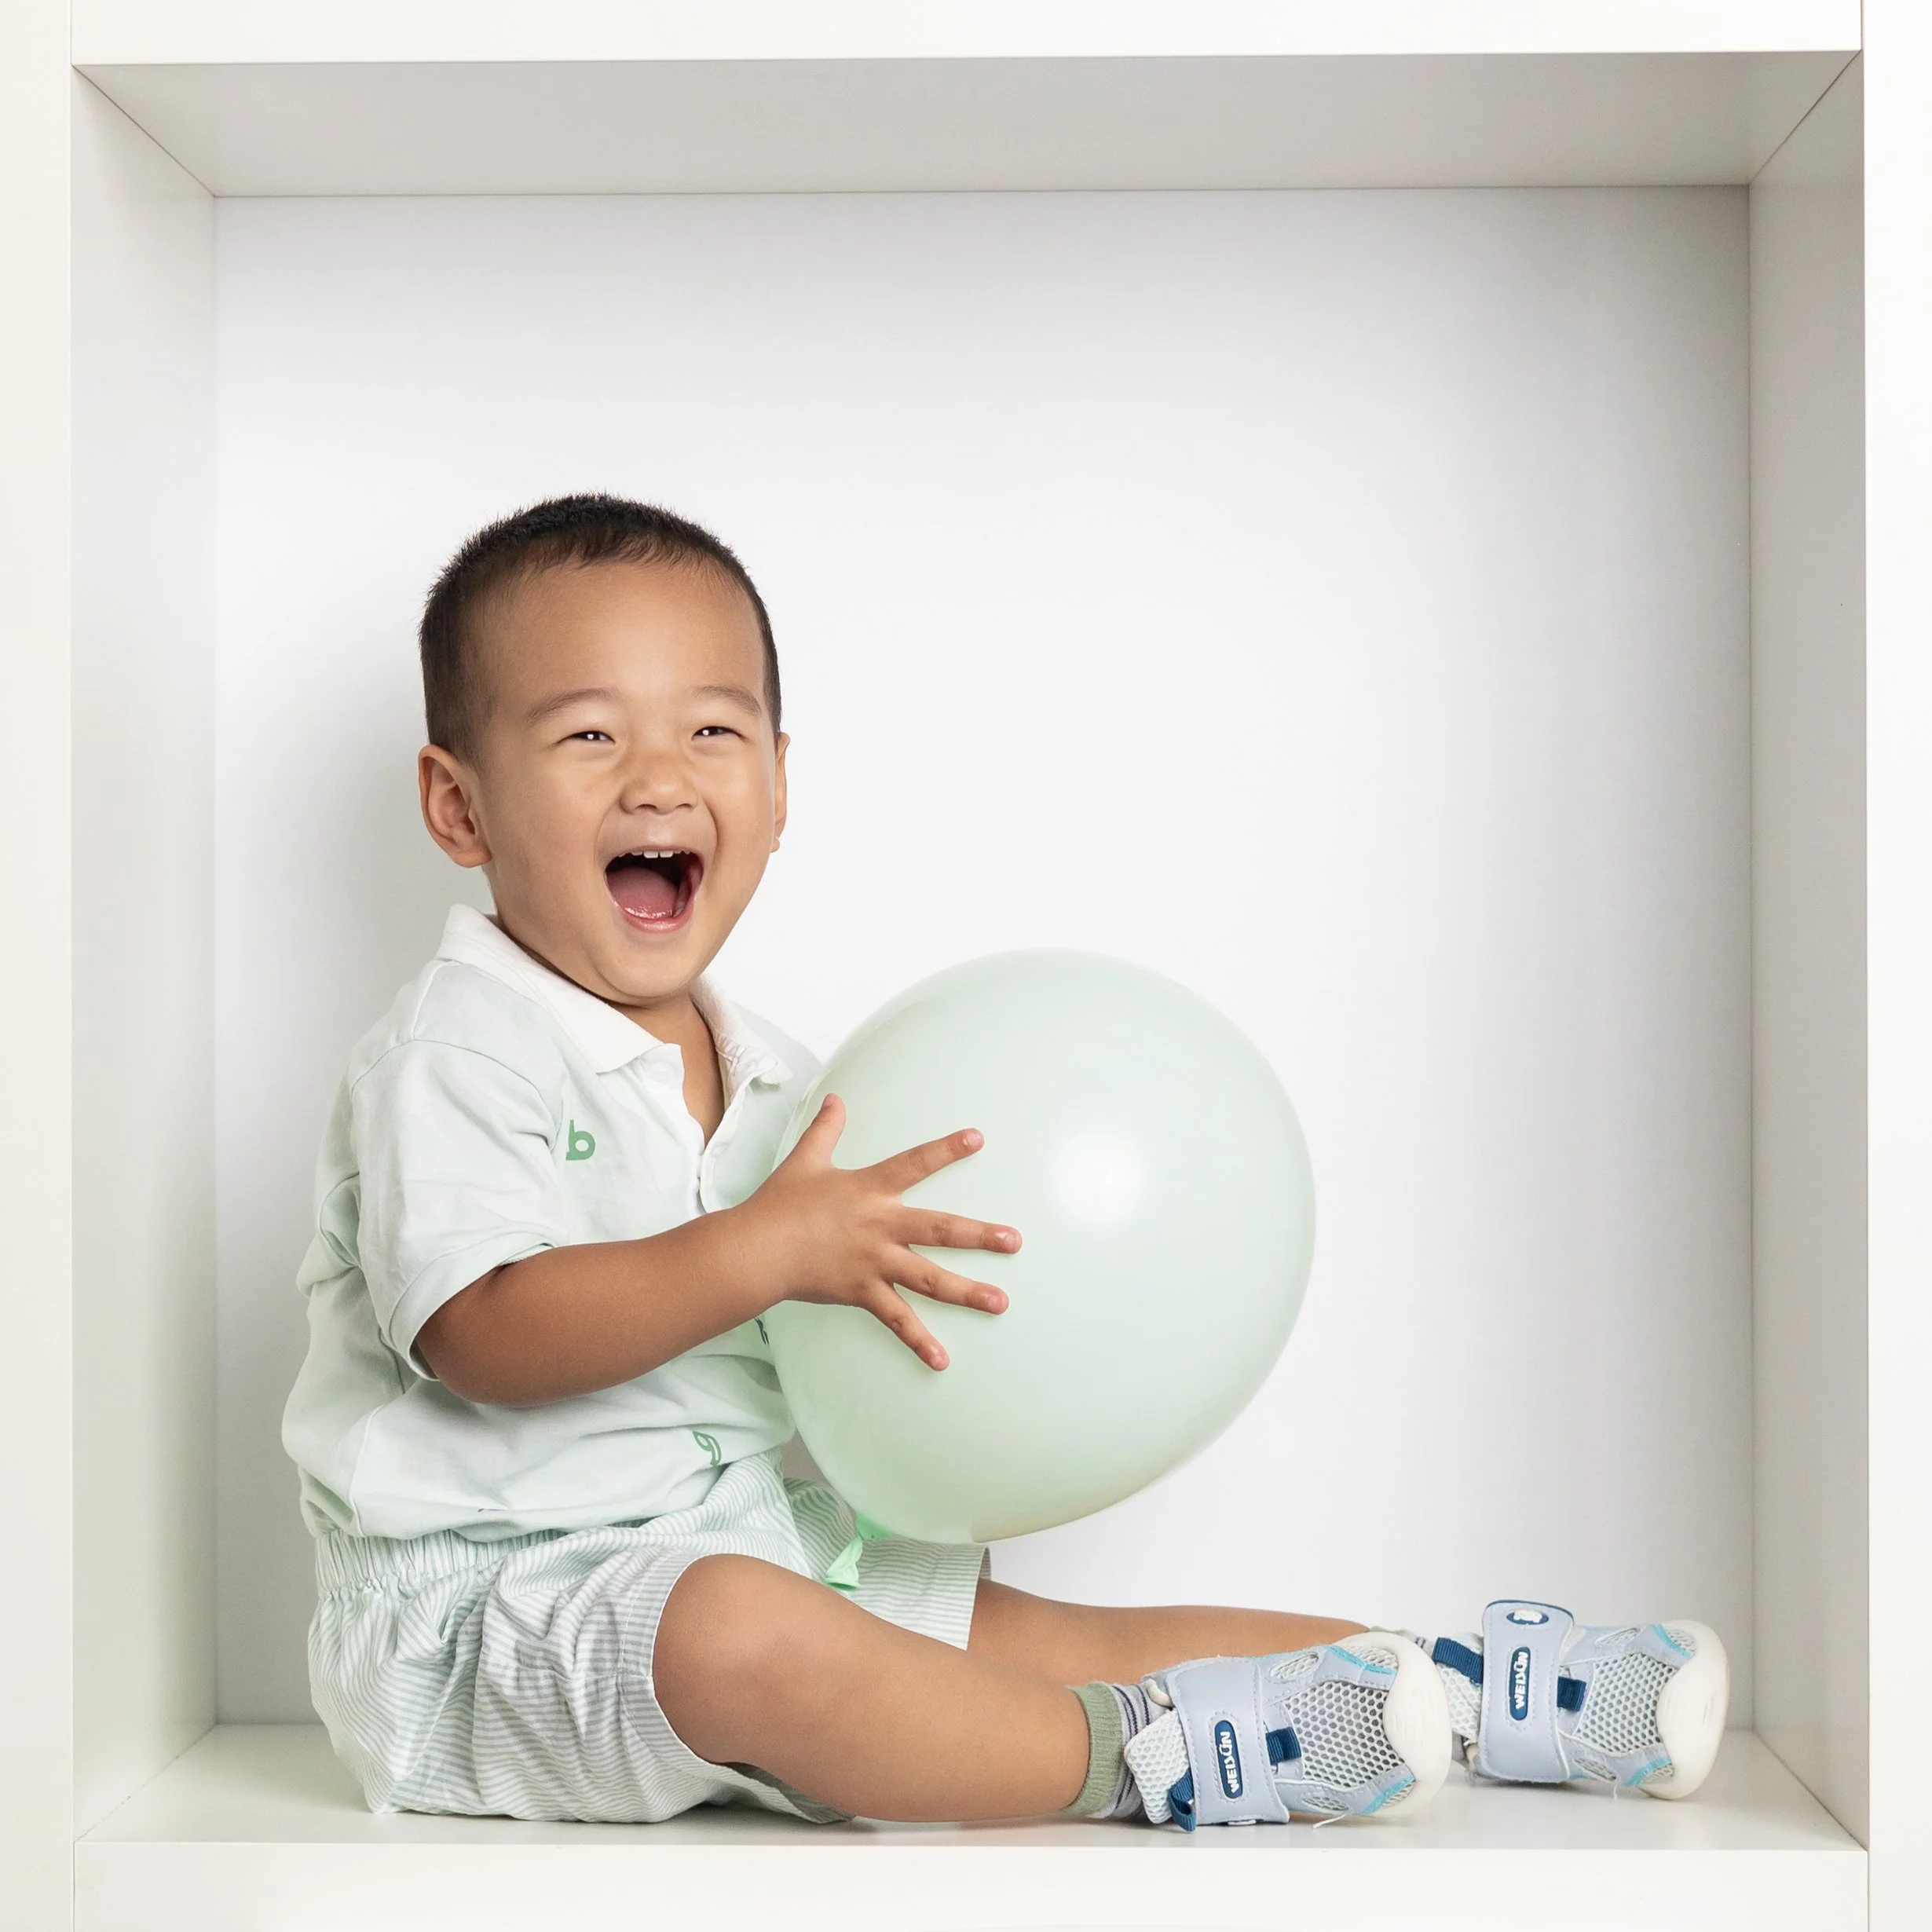
Then add simple props:
Favorite toy
Balloon
Sunglasses or hat
Seasonal or holiday item
Keep everything minimal so the focus stays on the child.
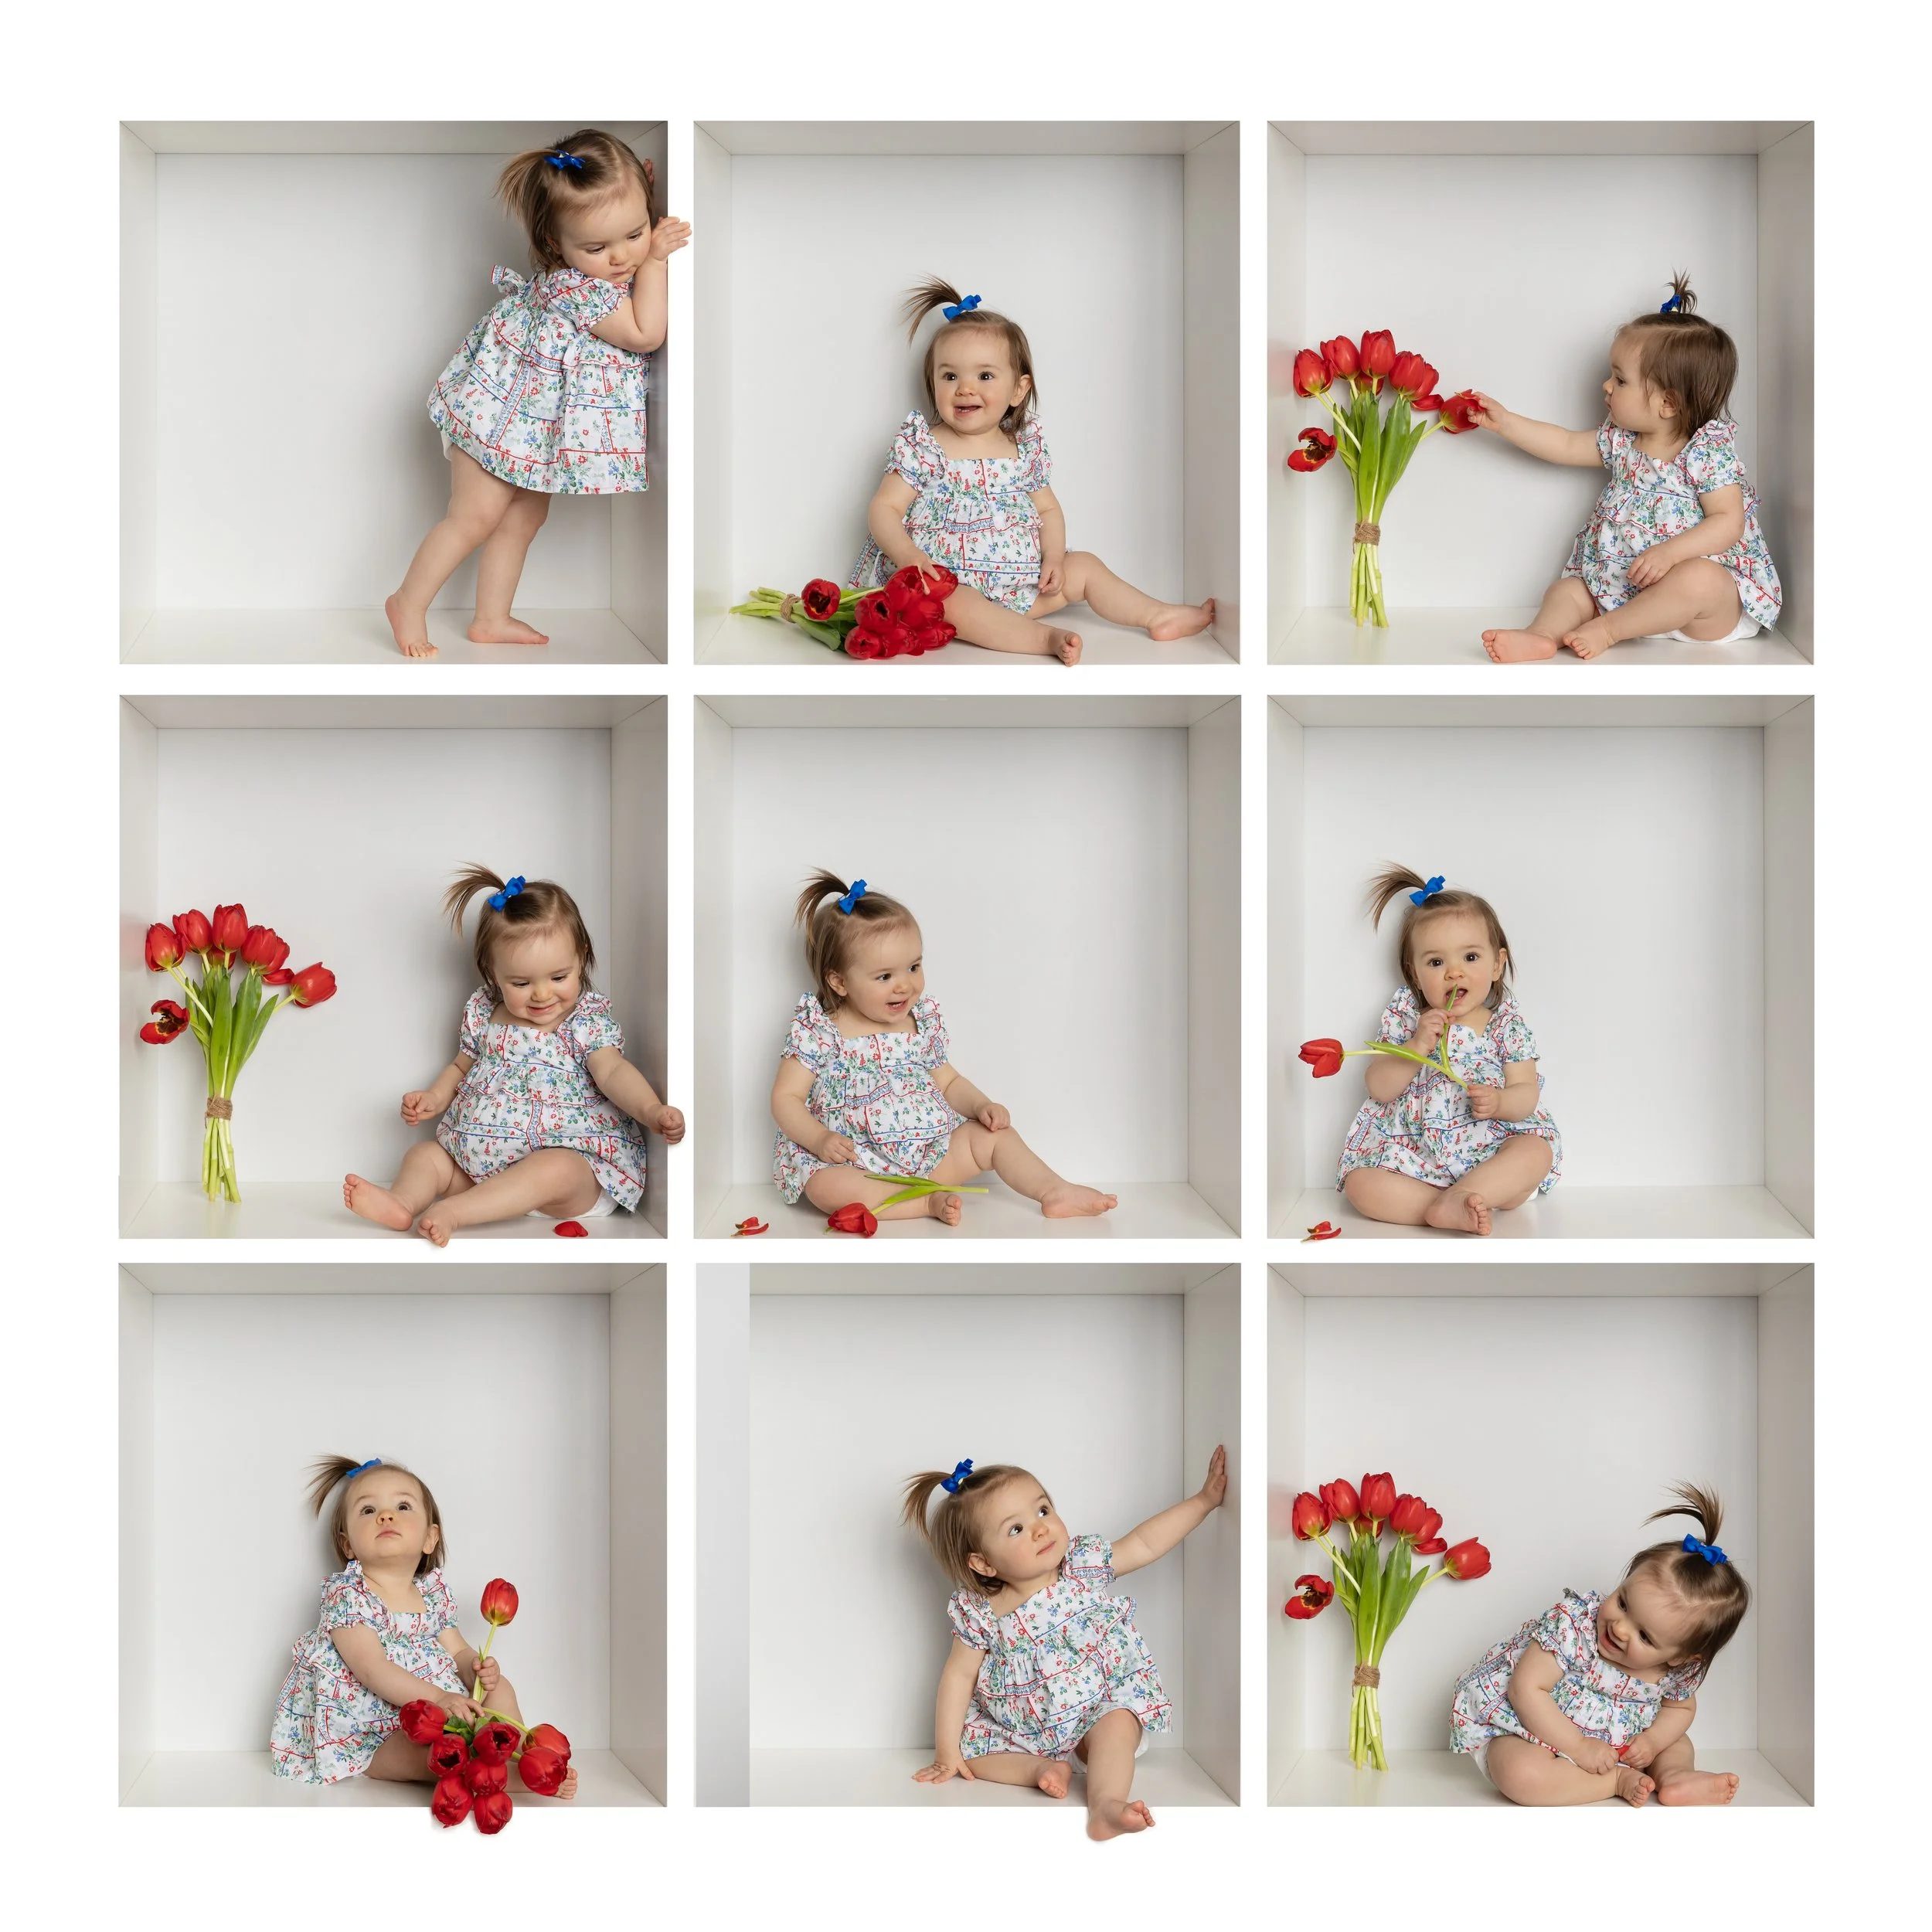
Add Variety Without Slowing Down
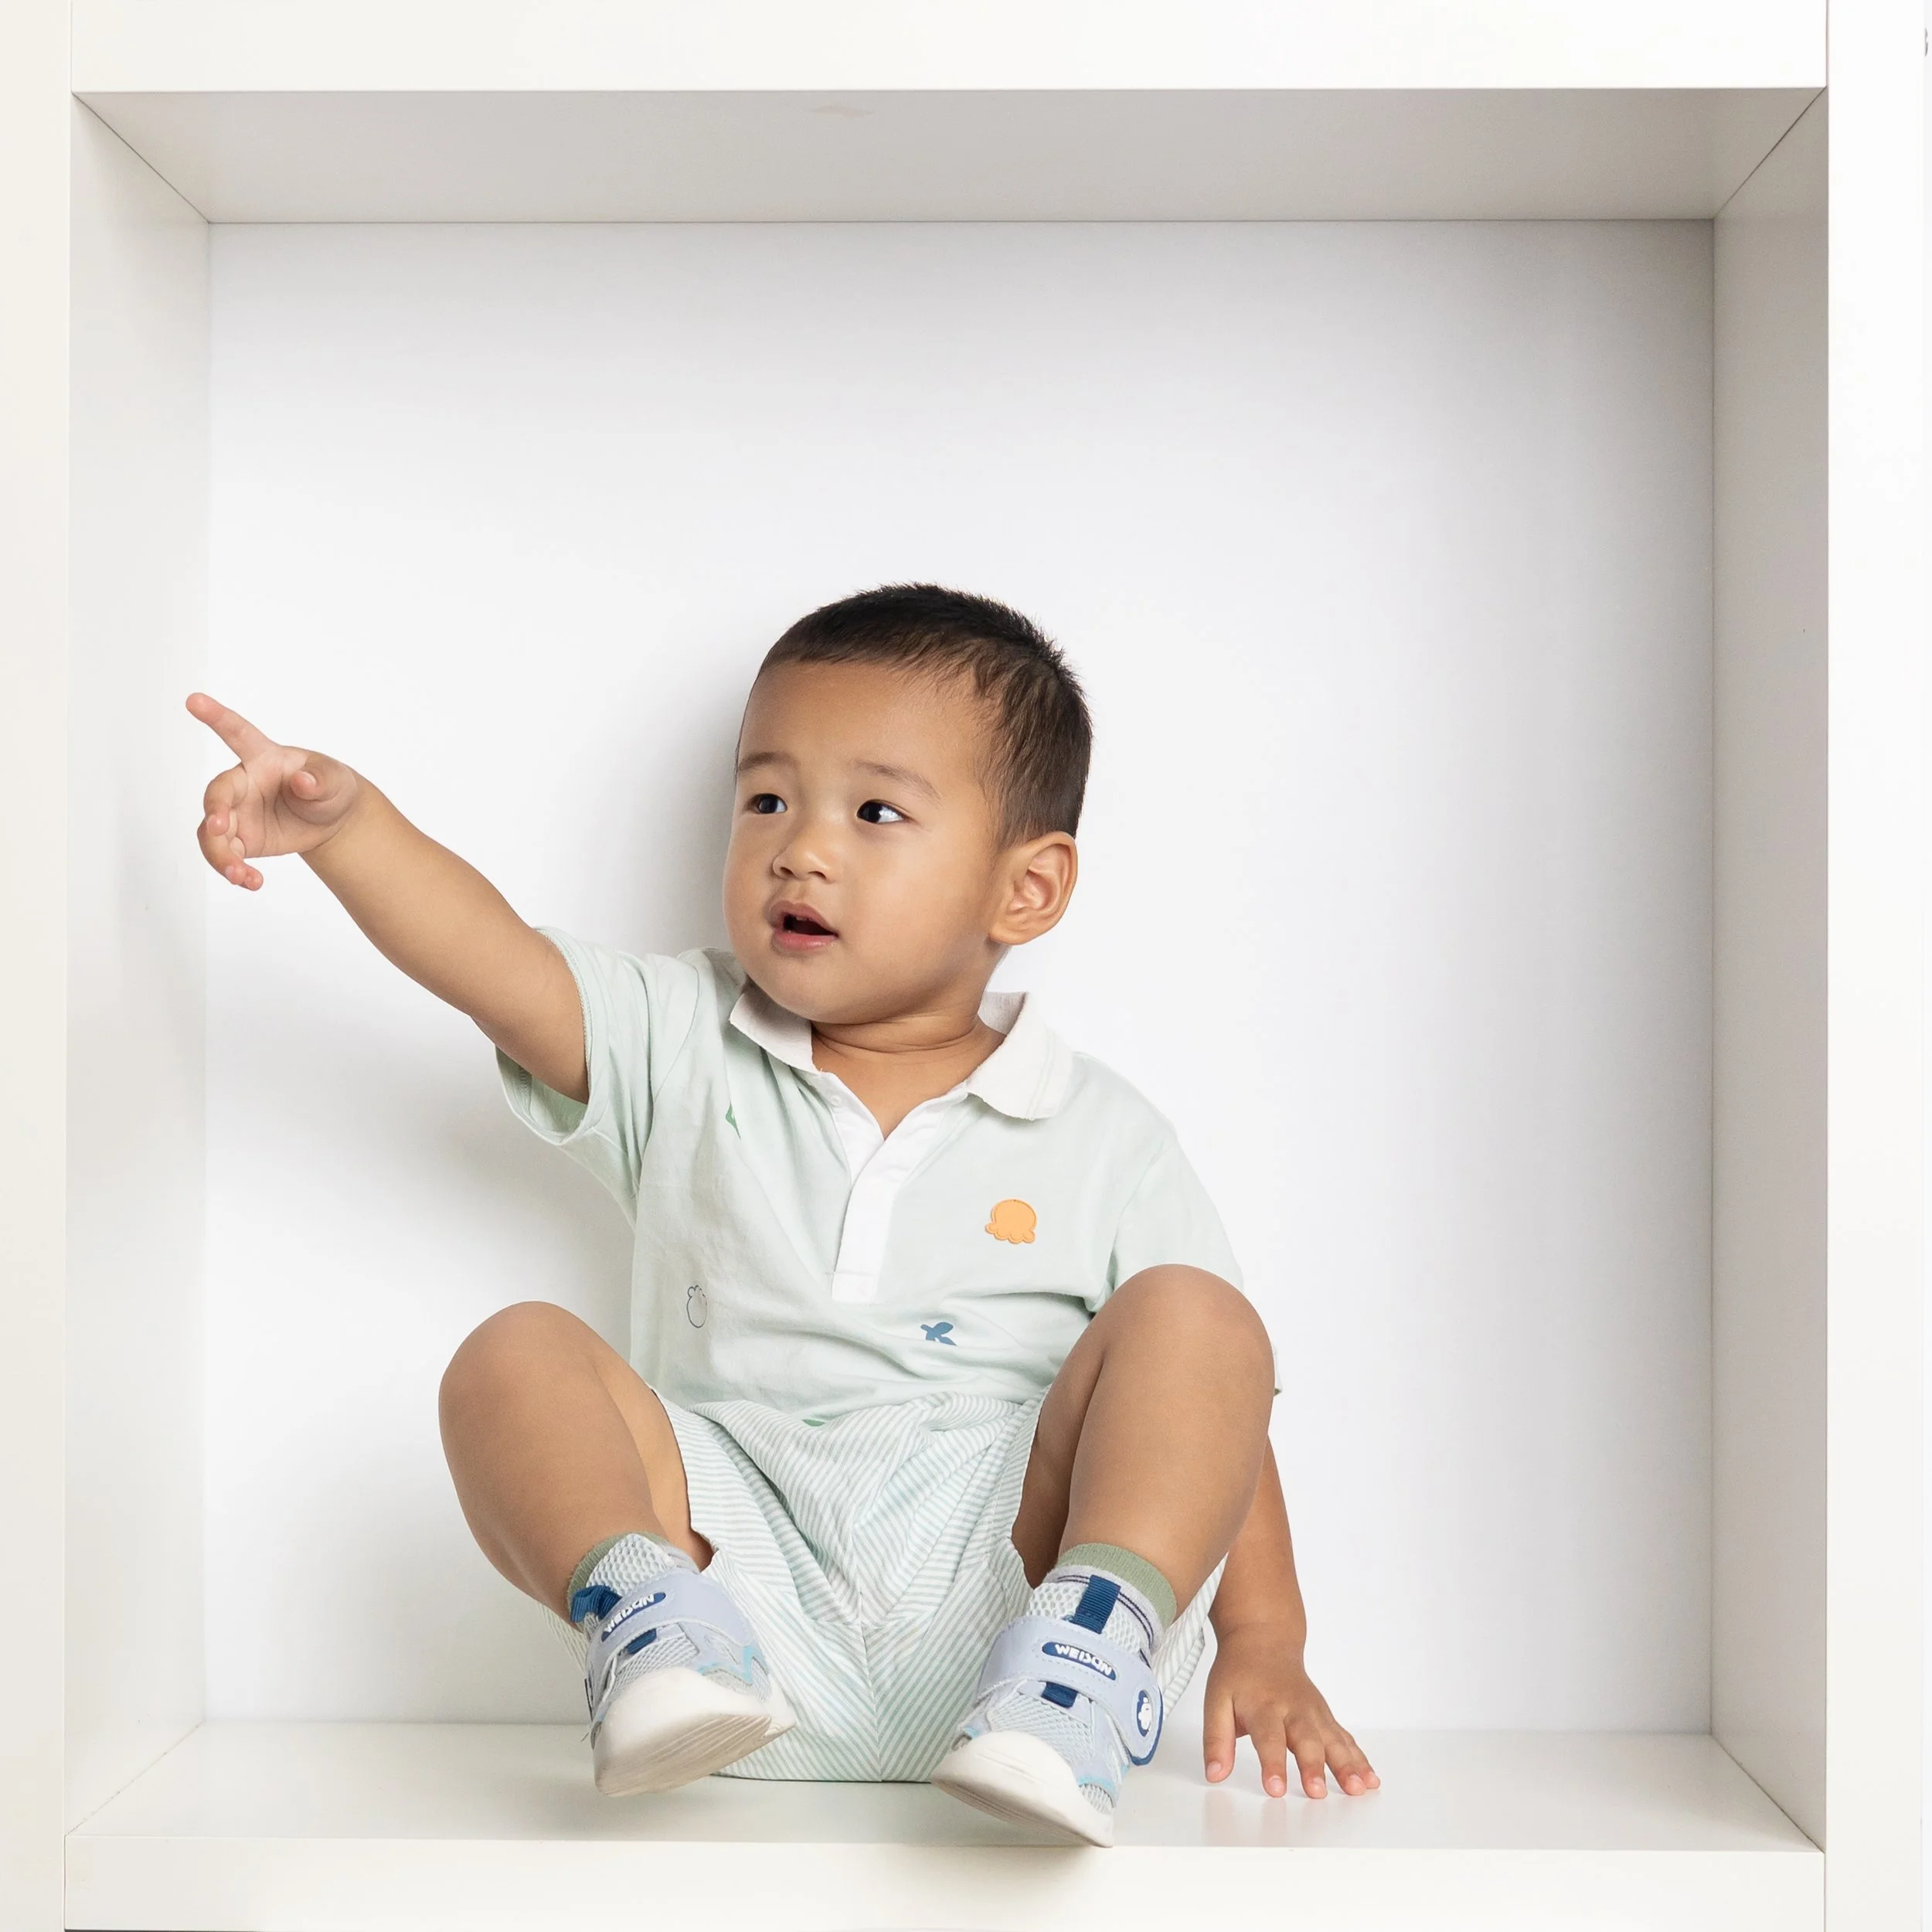
Once you have your core shots, add a few playful variations:
Legs hanging out of the box
Hands holding onto the edge
Looking around the side
Tossing or holding an object
These small changes make a big difference in the final collage.
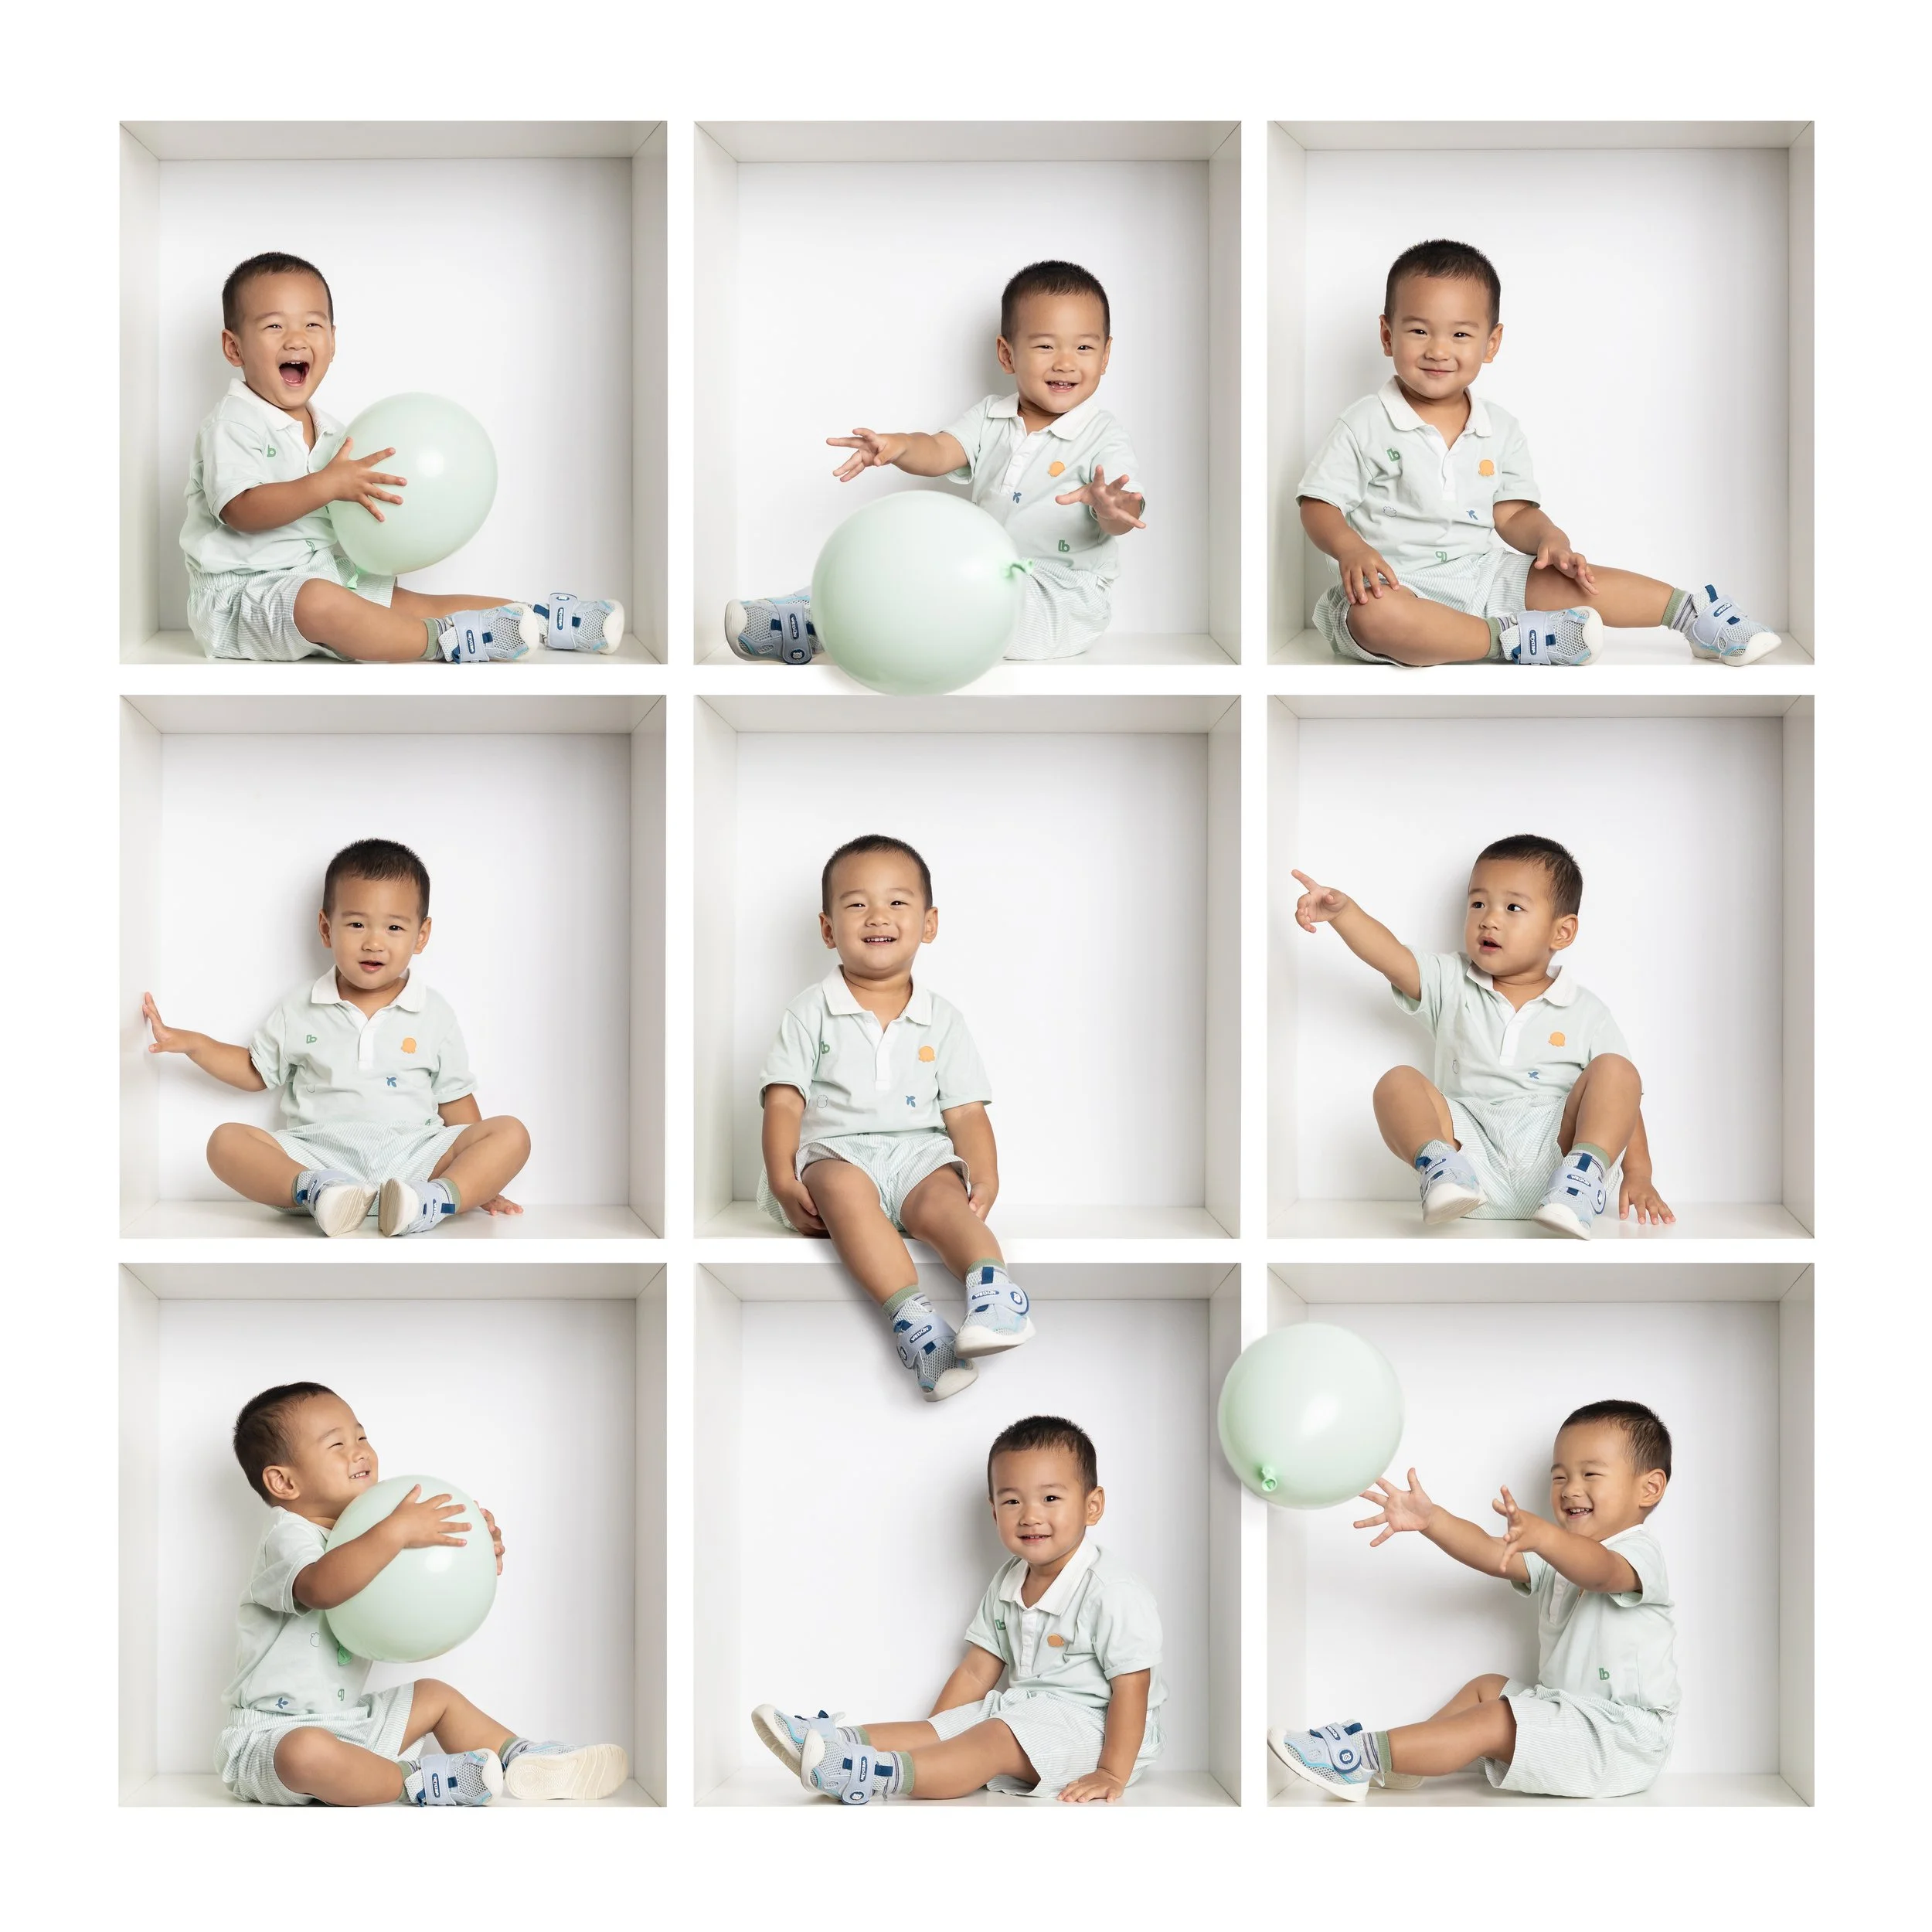
Editing and Creating the Final Collage
After your session, you will narrow everything down to your strongest images. Most photographers choose 9 images for a 3x3 grid or 4 images for a simpler 2x2. You can purchase a template from Etsy or create your own in Photoshop.
Why Parents Love This Session
Even though this is a technical setup, the final result feels personal and fun. Parents love it because:
It captures personality, not just one posed image
It works for a wide range of ages
It feels playful without being chaotic
It creates something they can actually hang on a wall
This is one of those sessions that looks custom but is actually very streamlined behind the scenes.
Tips for Photographers
Keep sessions short. Around 10 minutes is usually enough
Use simple props. Too many distractions can overwhelm younger kids
Give clear direction but keep it light and fun
Watch your framing carefully. Consistency is everything for the final composite
Is This a Good Fit for Your Studio?
If you are looking for a mini session that is quick to shoot, easy to repeat, and highly shareable on Pinterest and social media - In the Box minis are a strong option. They are also a great way to offer something a little different without needing a full set build.
Photographers - If you are working on building out your mini session offerings or want help refining your workflow, lighting, and setups, this is exactly the kind of thing I cover in my mentoring sessions. You do not need more random ideas. You need a system that works.
Parents - If you are a parent in Austin, TX looking for something fun, modern, and a little different from traditional portraits, In the Box sessions are a perfect option.